Robin and Nilson WordPress Theme

Thank you so much for purchasing my theme. If you have any questions that are beyond the scope of this help file, please feel free to contact me.
Installation
Download the latest version of WordPress theme first brfore installing. Then you need to upload the theme files
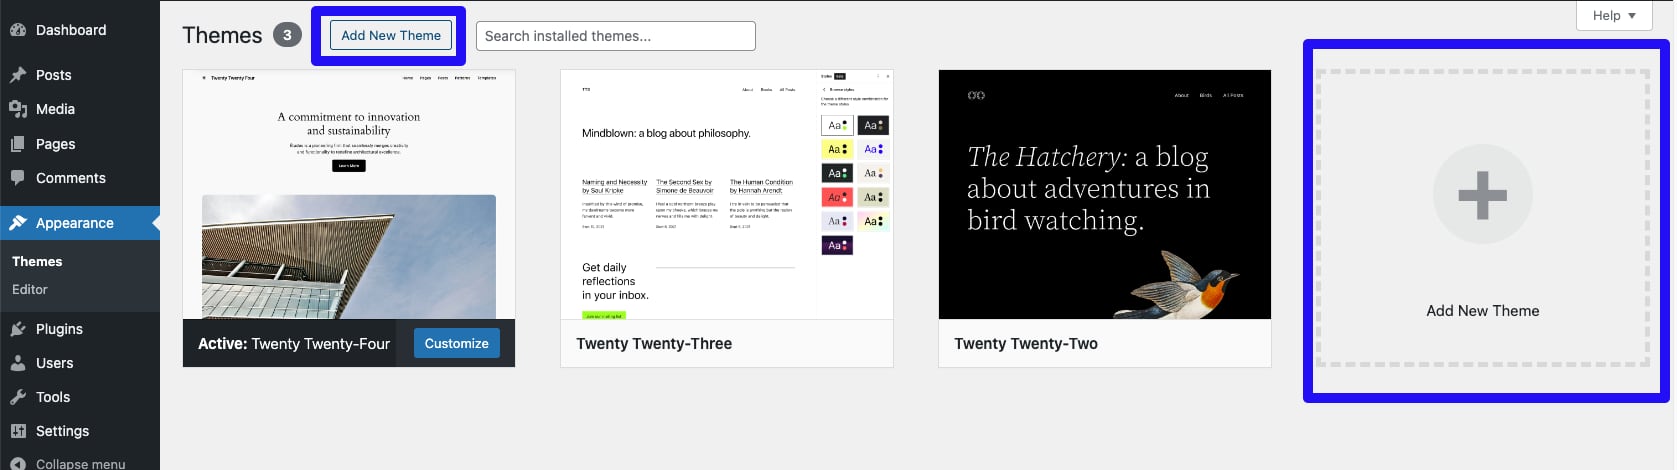
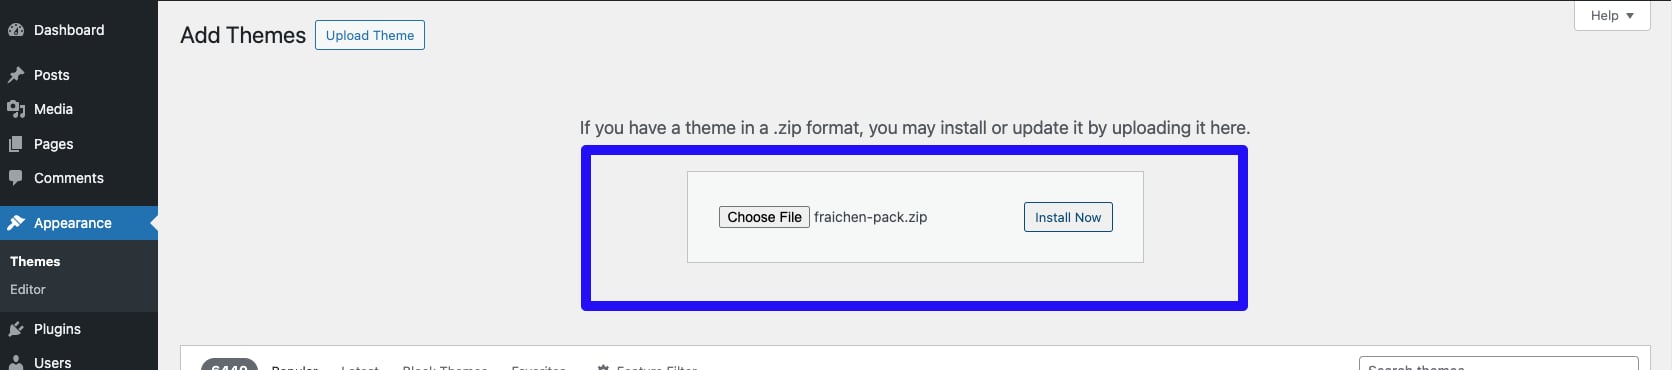
Navigate to Apperance > Themes, click on the Add New Theme link, then click the Upload Theme link and select the theme file, you'll find the theme zip file in the folder after you uncompress your downloaded file. Click Install Now and wait for the installation to complete.
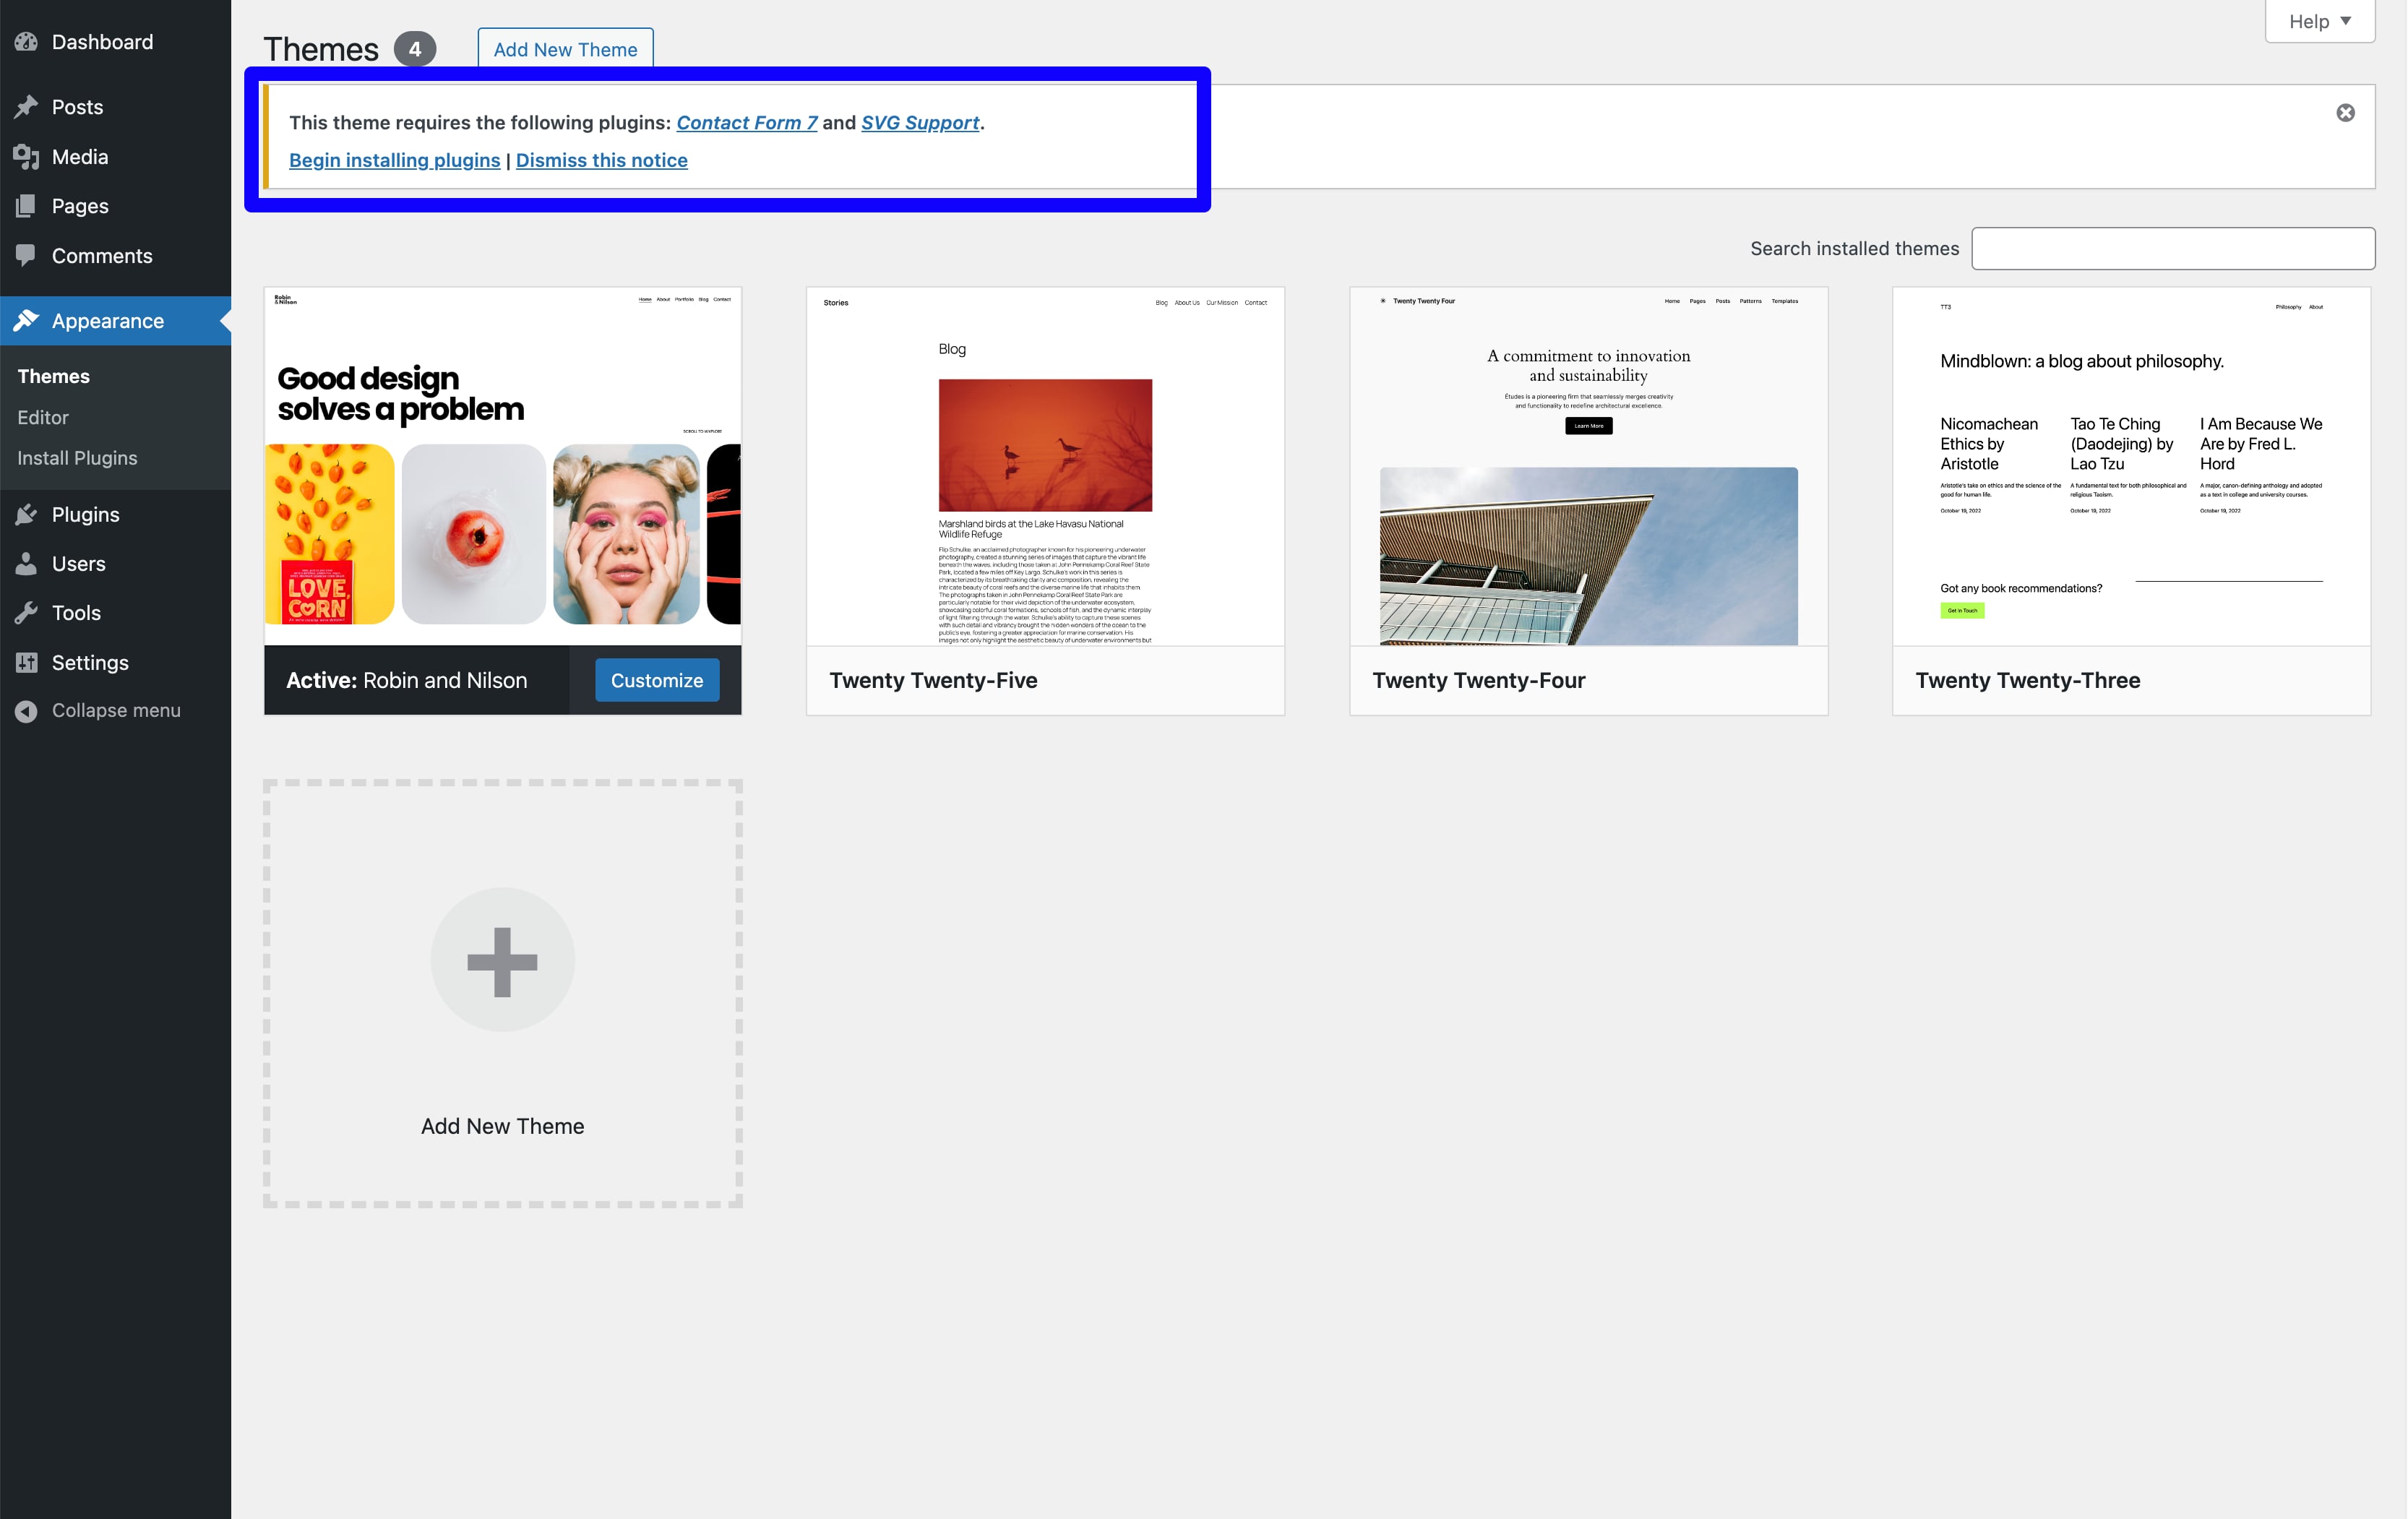
Activate the theme by clicking activate link after the installation is completed. Or navigate to Appearance > Themes and activate the theme.
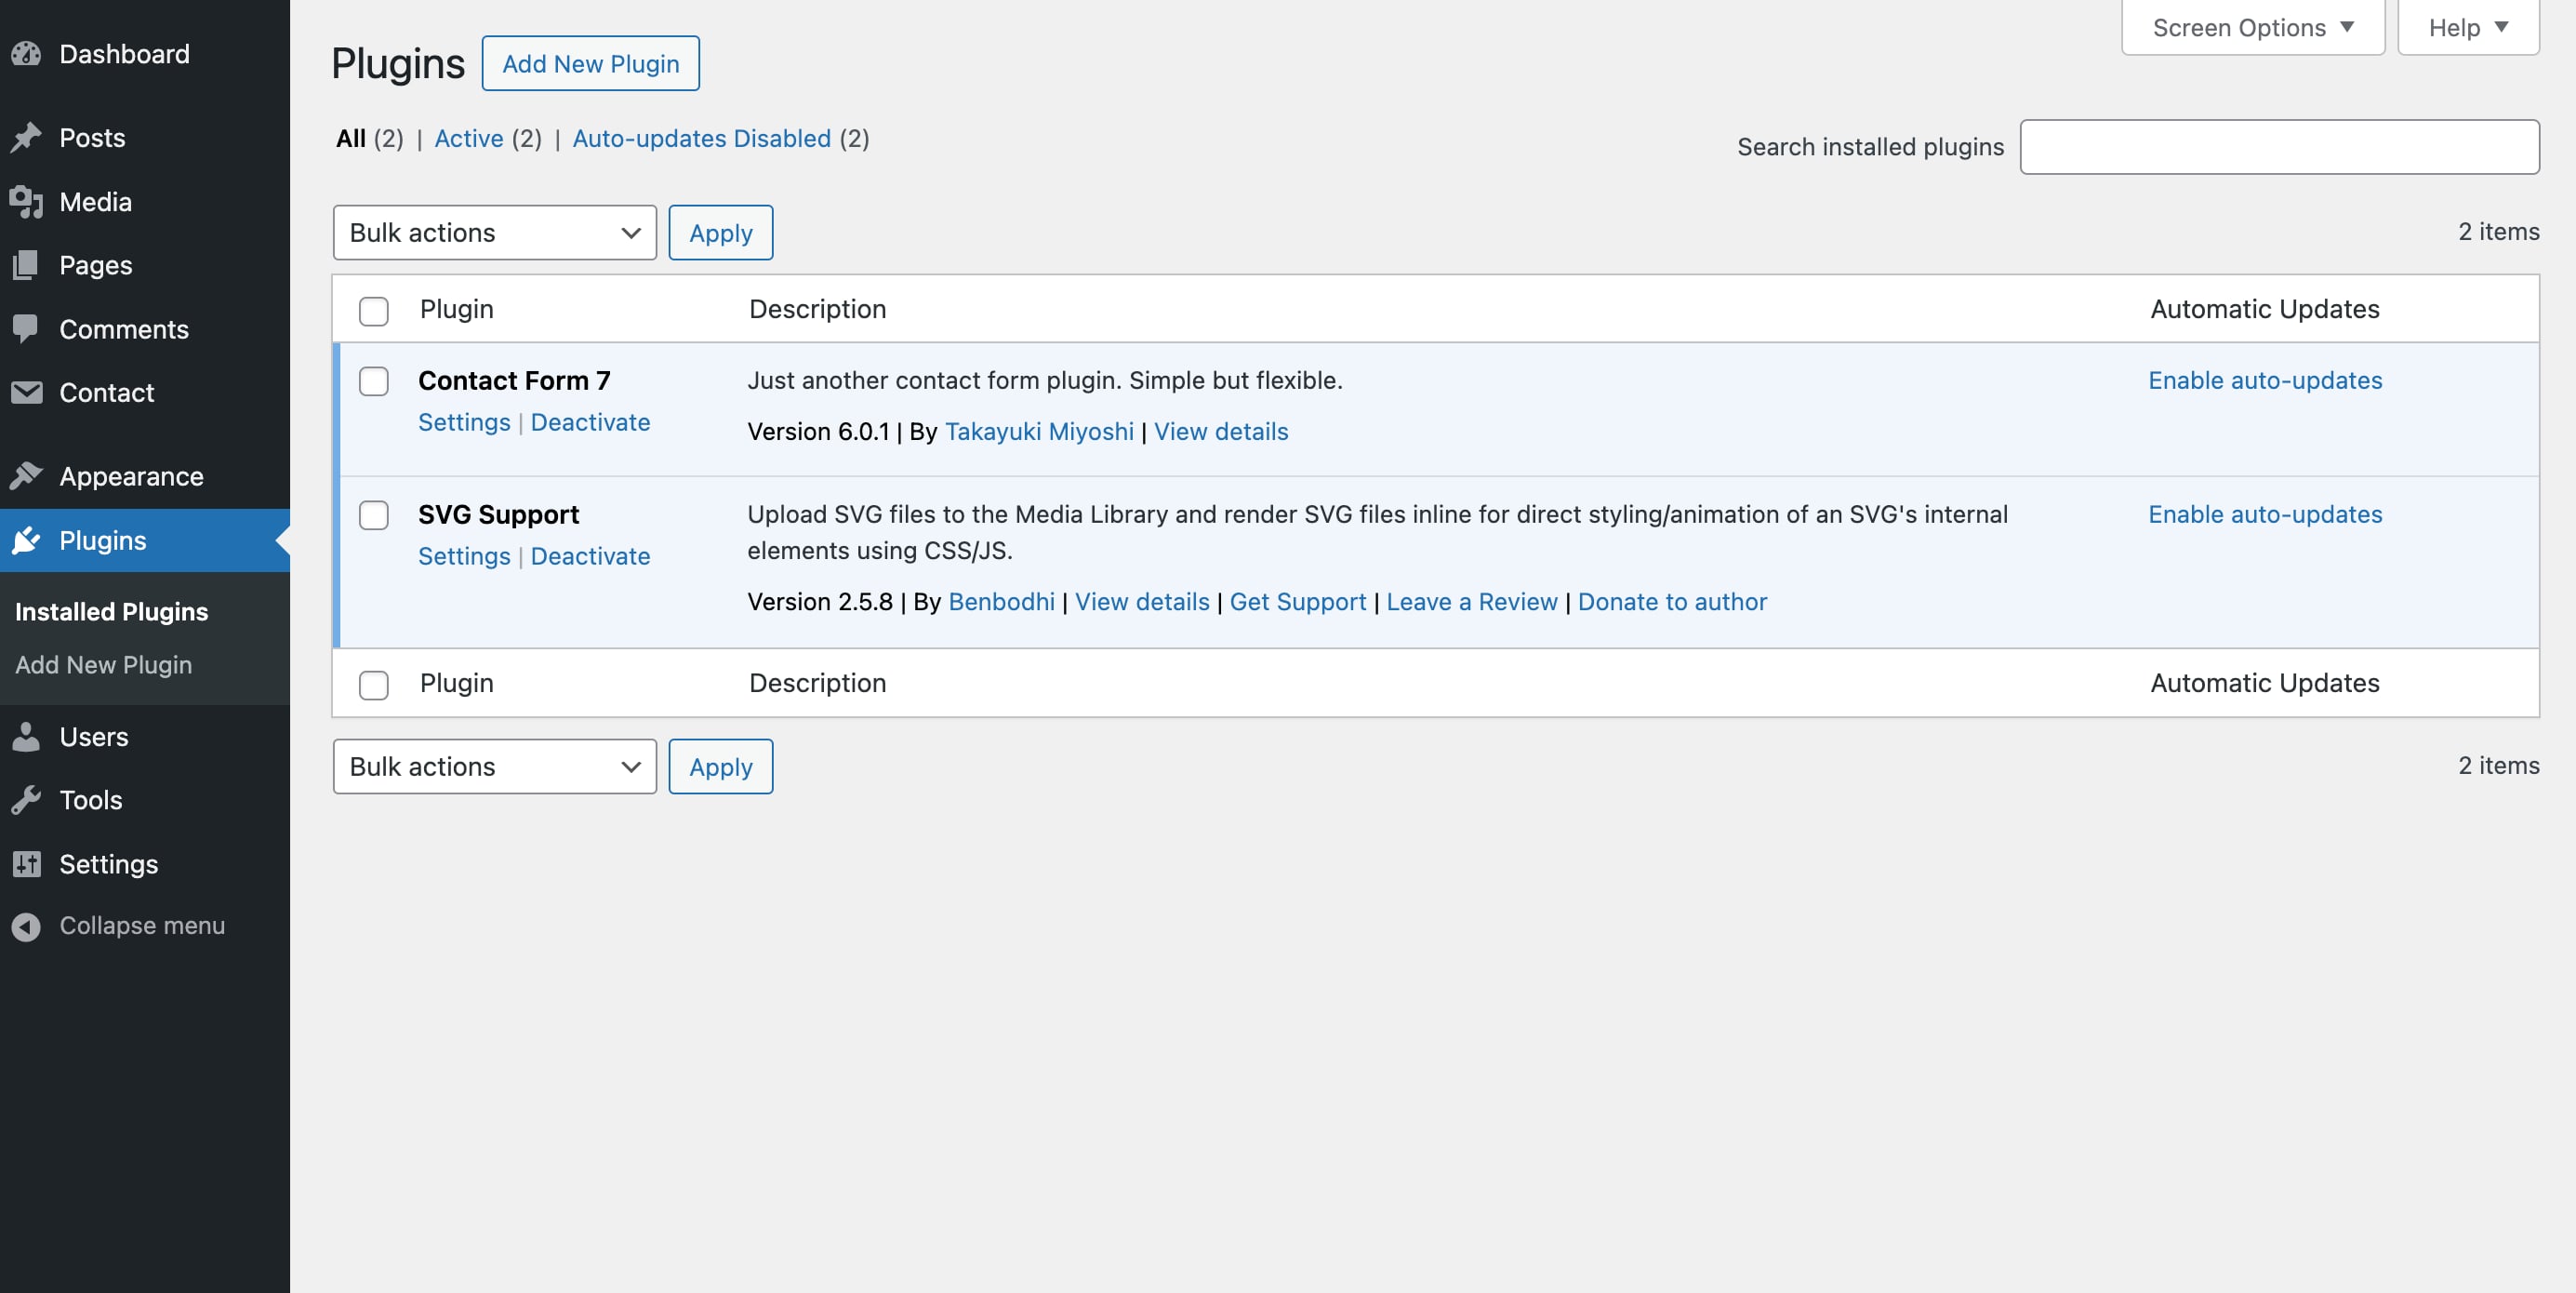
This theme needs to install two plugins(Contact Form 7 and SVG Support). You can easily install and activate them throught the links above after activate the theme.
Homepage Setup
It is really simple to setup a homepage, just few seconds.
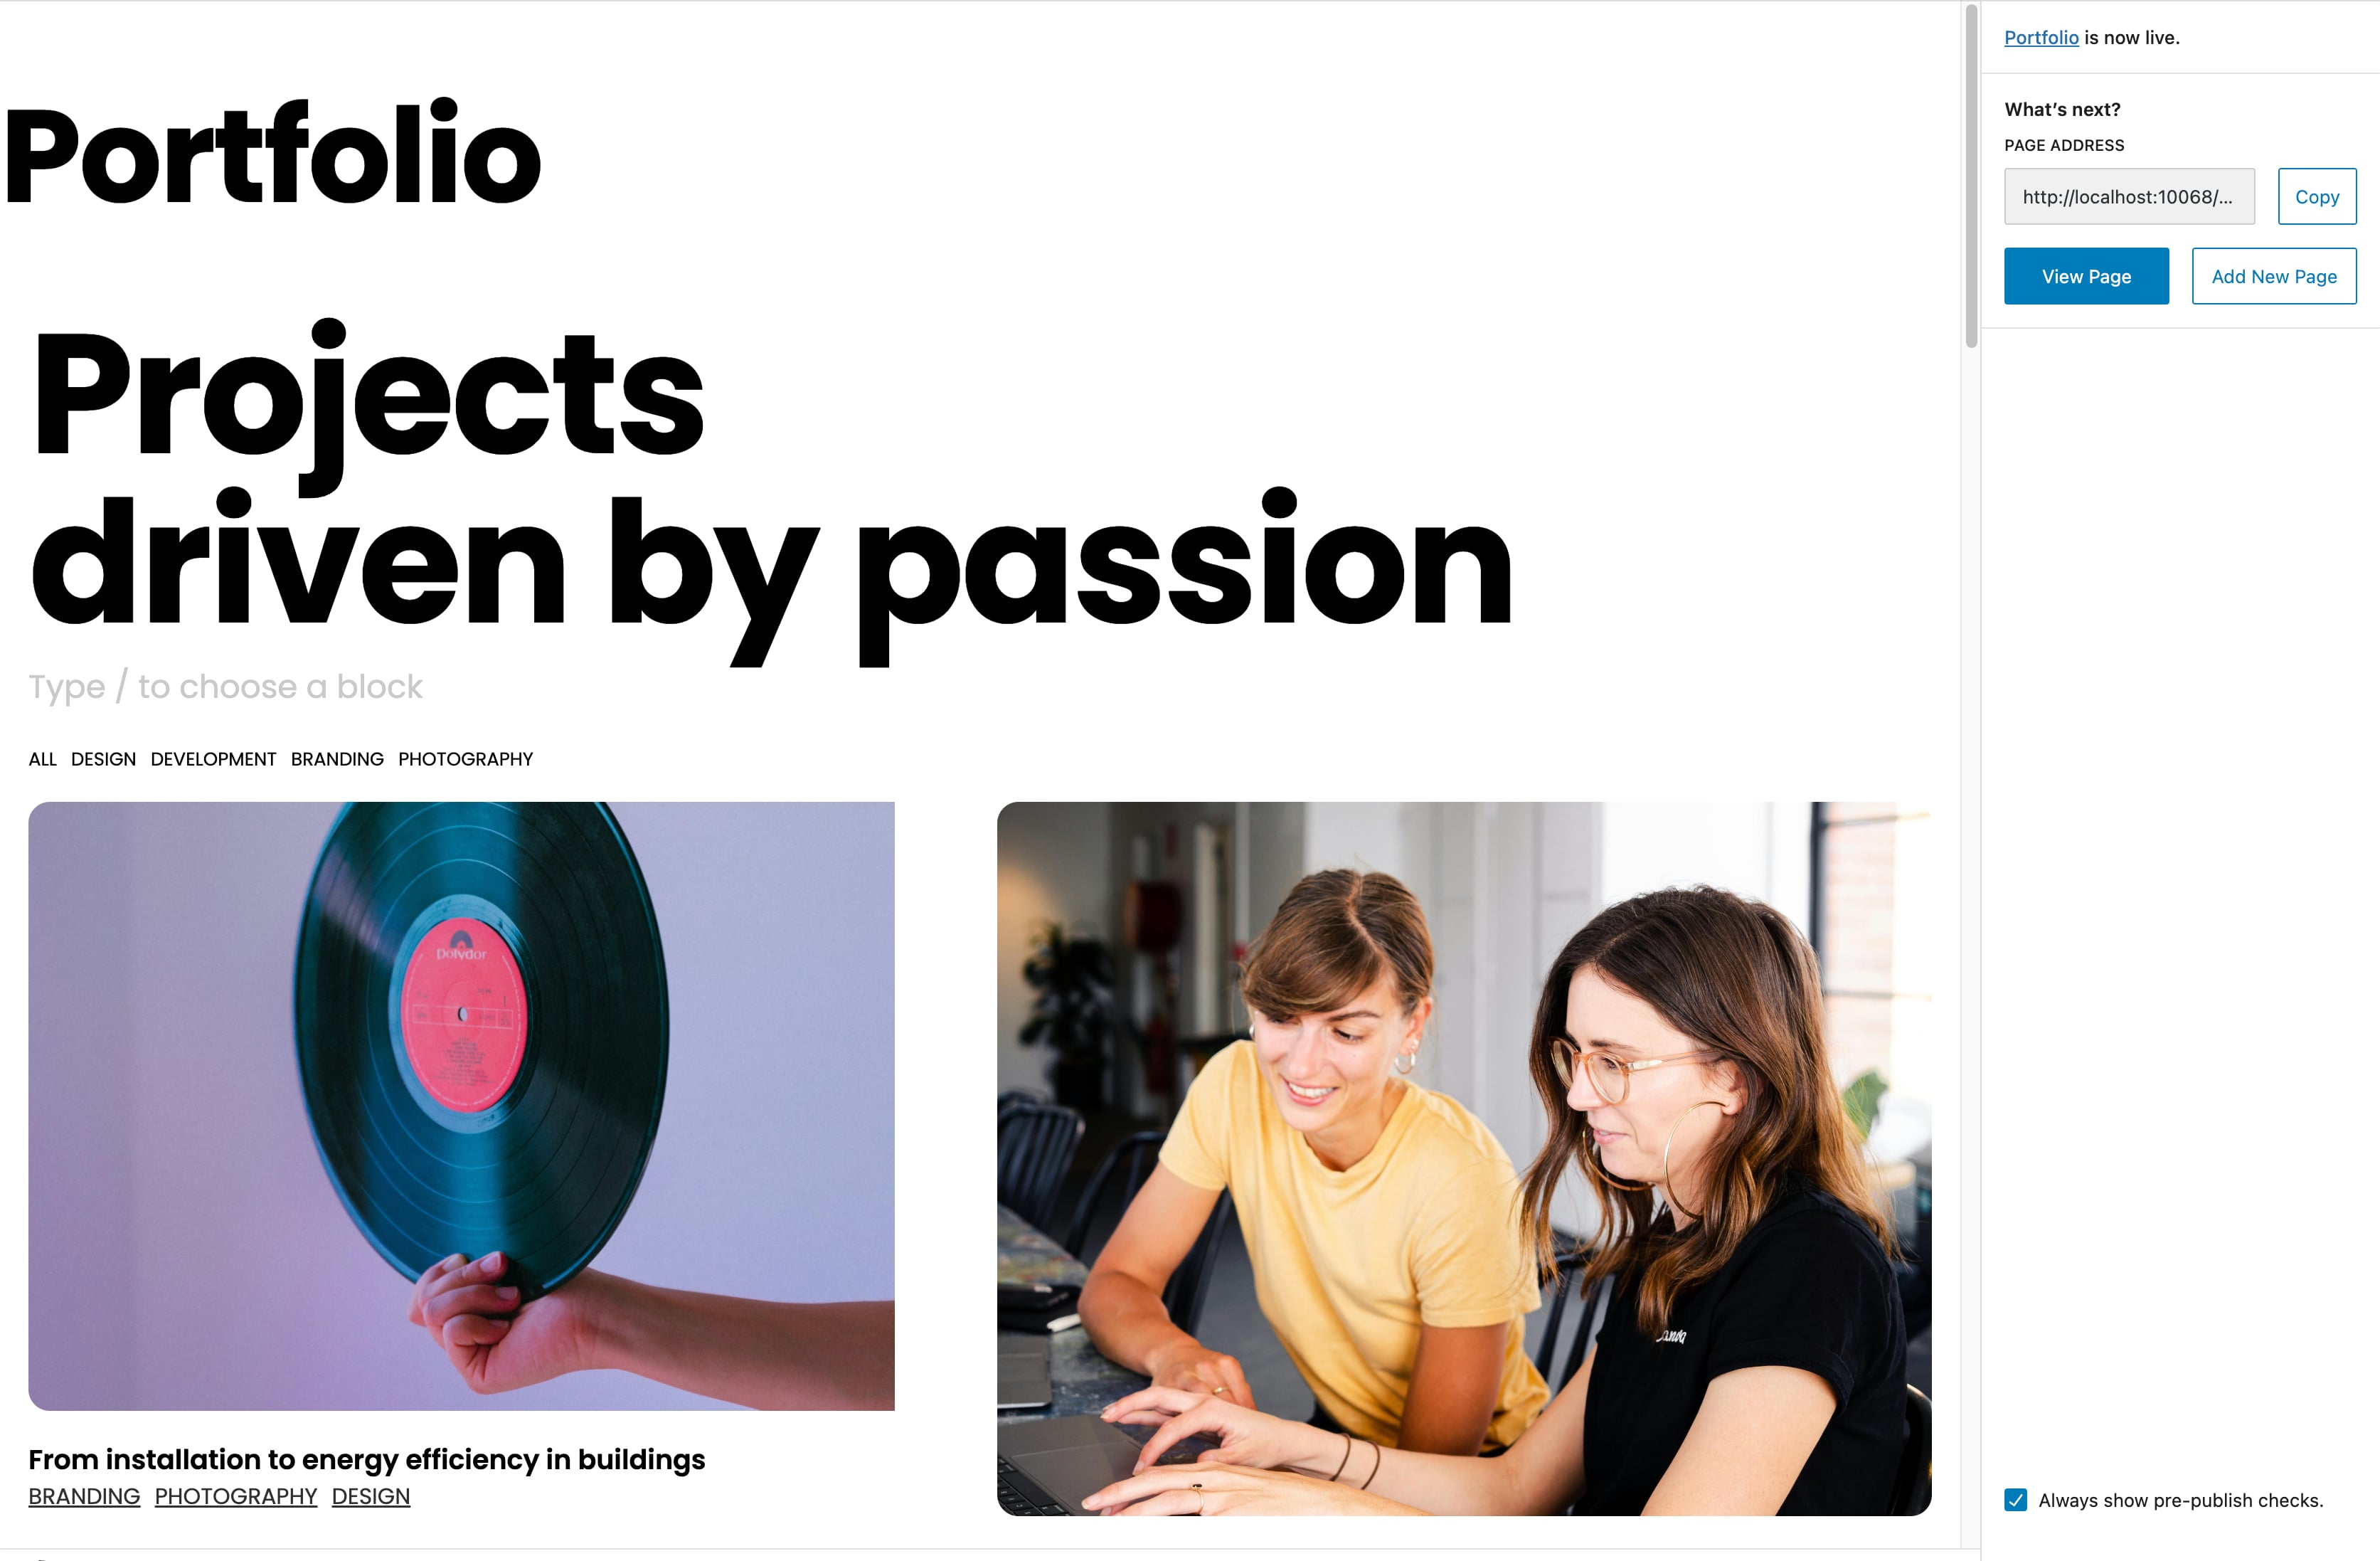
By navigating to Pages > Add New Page , you'll see a pop-up window with many pre-built patterns in it, and there are three homepage patterns, choose a homepage pattern you like, then add a title like "home" for this page. Don't forget to double click the Publish to save the page, now the homepage is setup. You can edit the conent of this page later as you need.
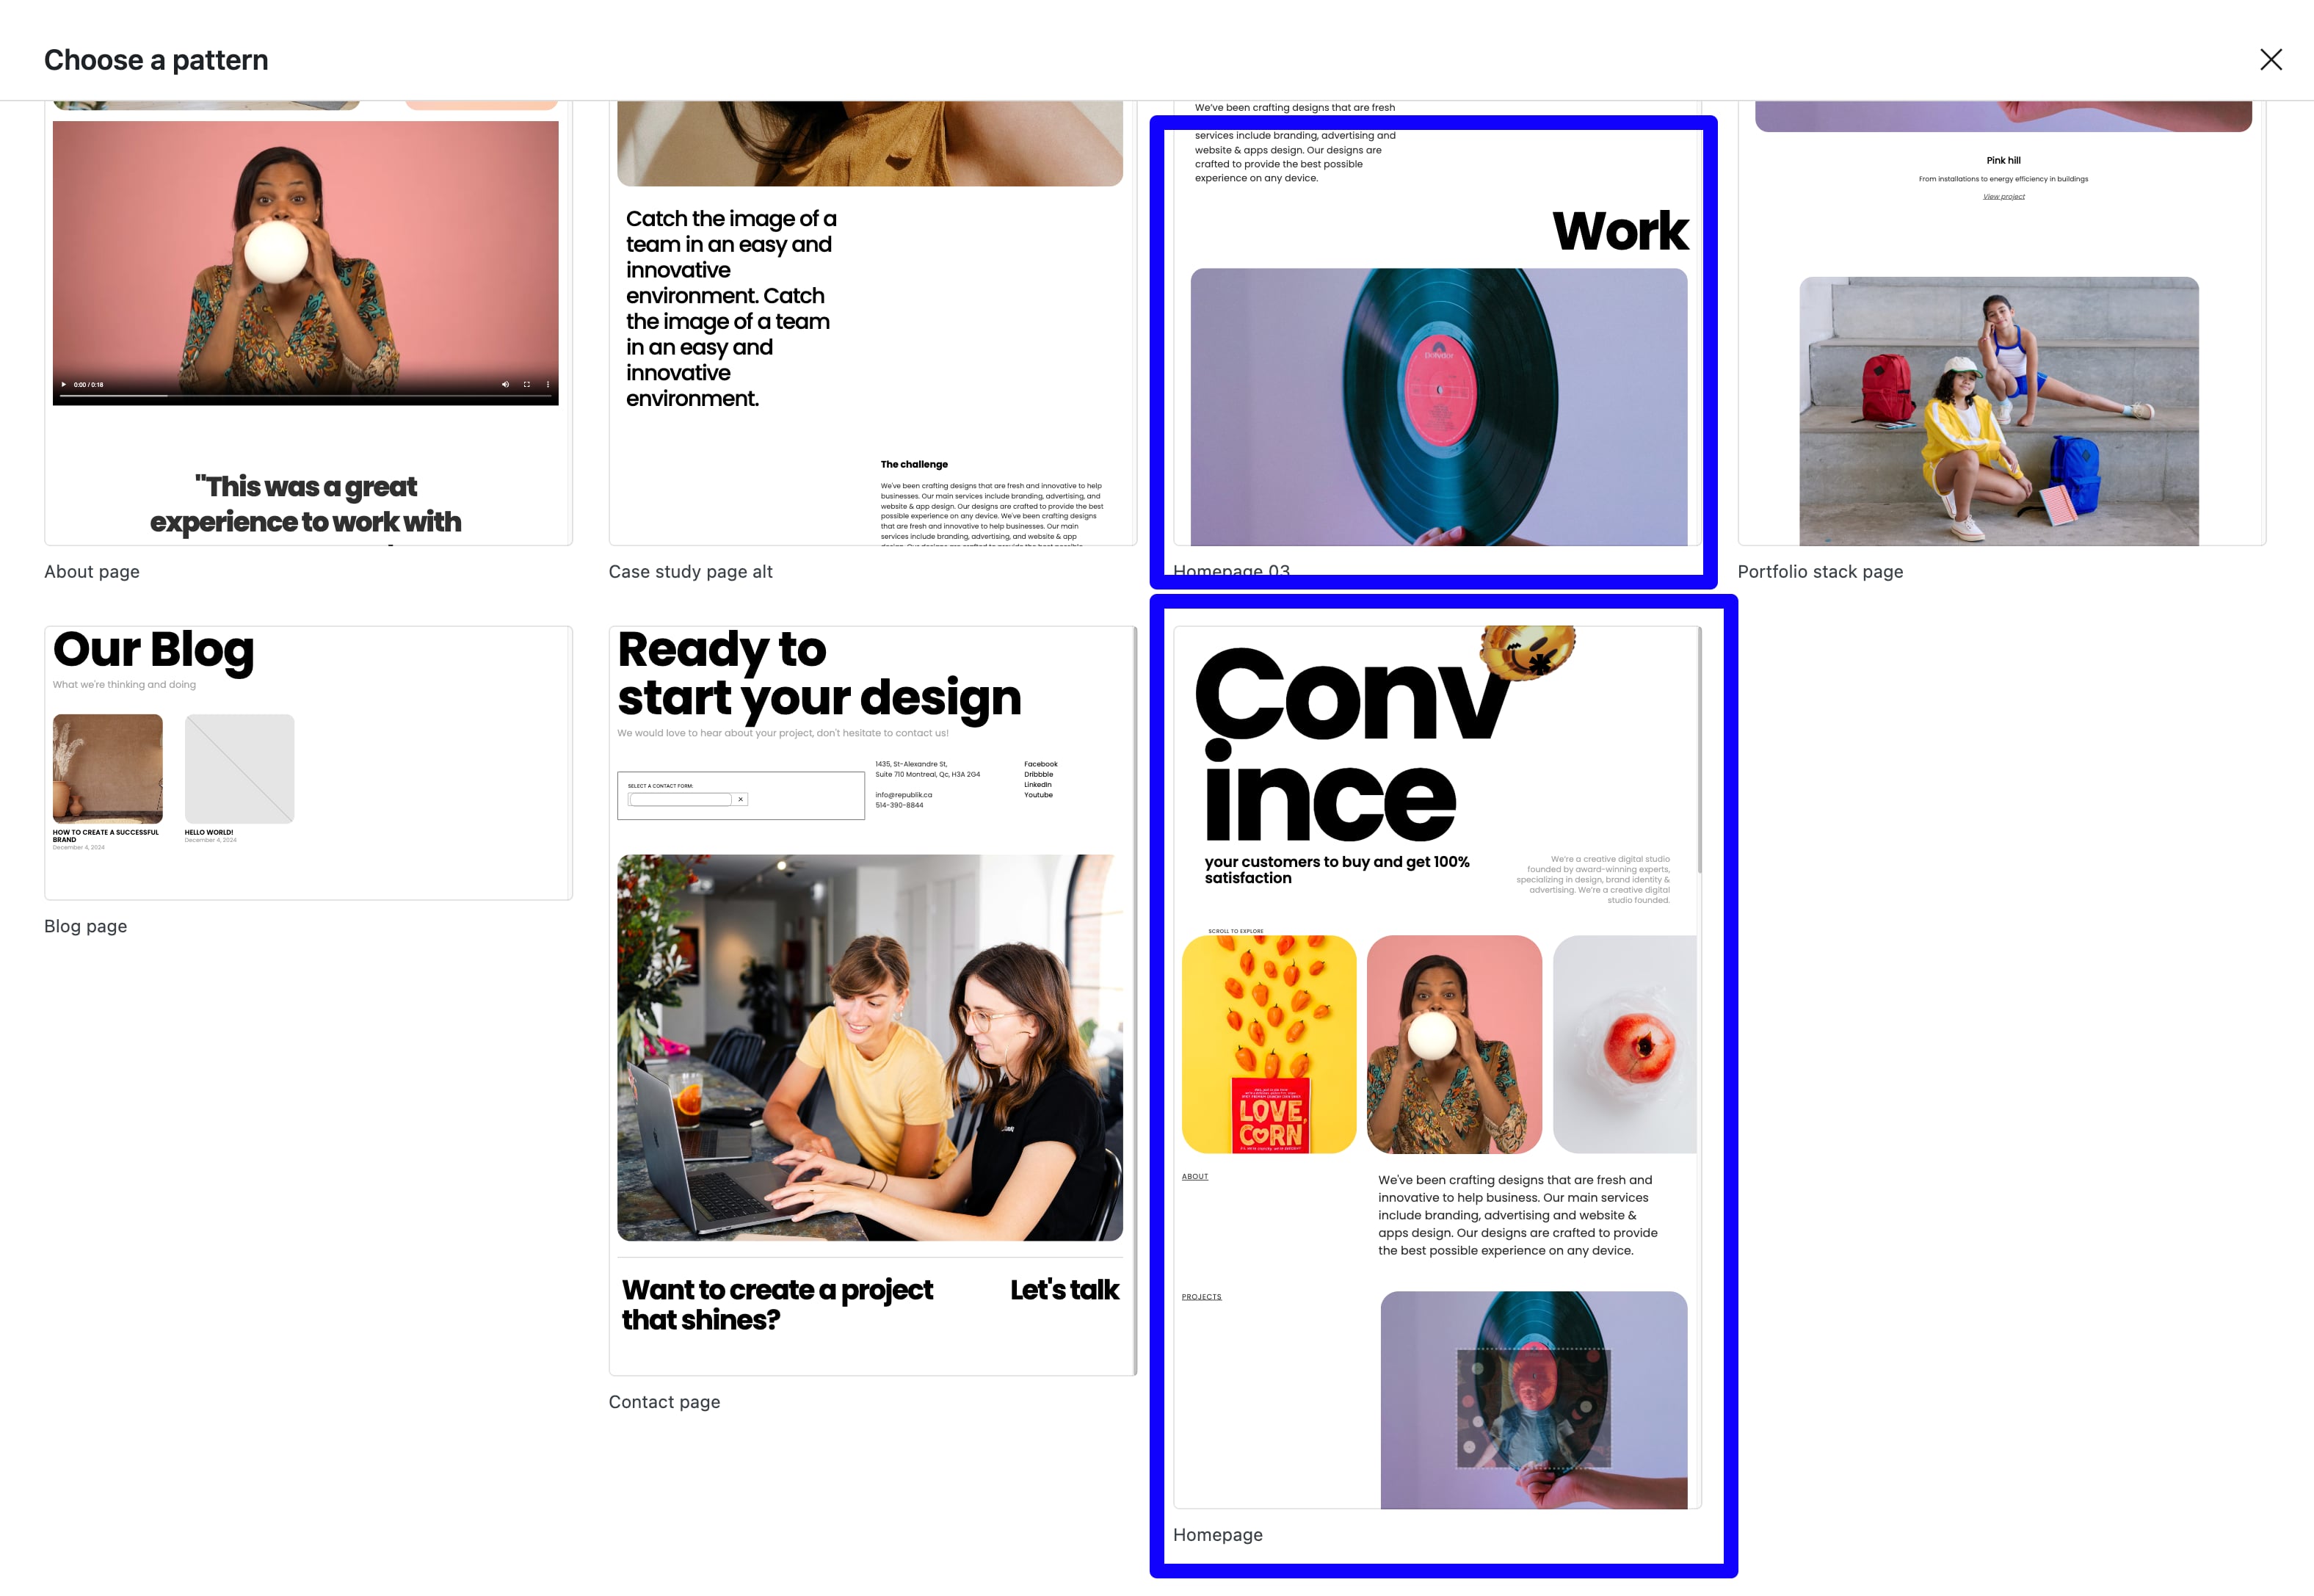
You can also choose the homepage pattern through the "Robin and Nilson pages" under the "Patterns" label. And there are many other pre-built patterns under the "Robin and Nilson patterns" that help you to build a page quickly.

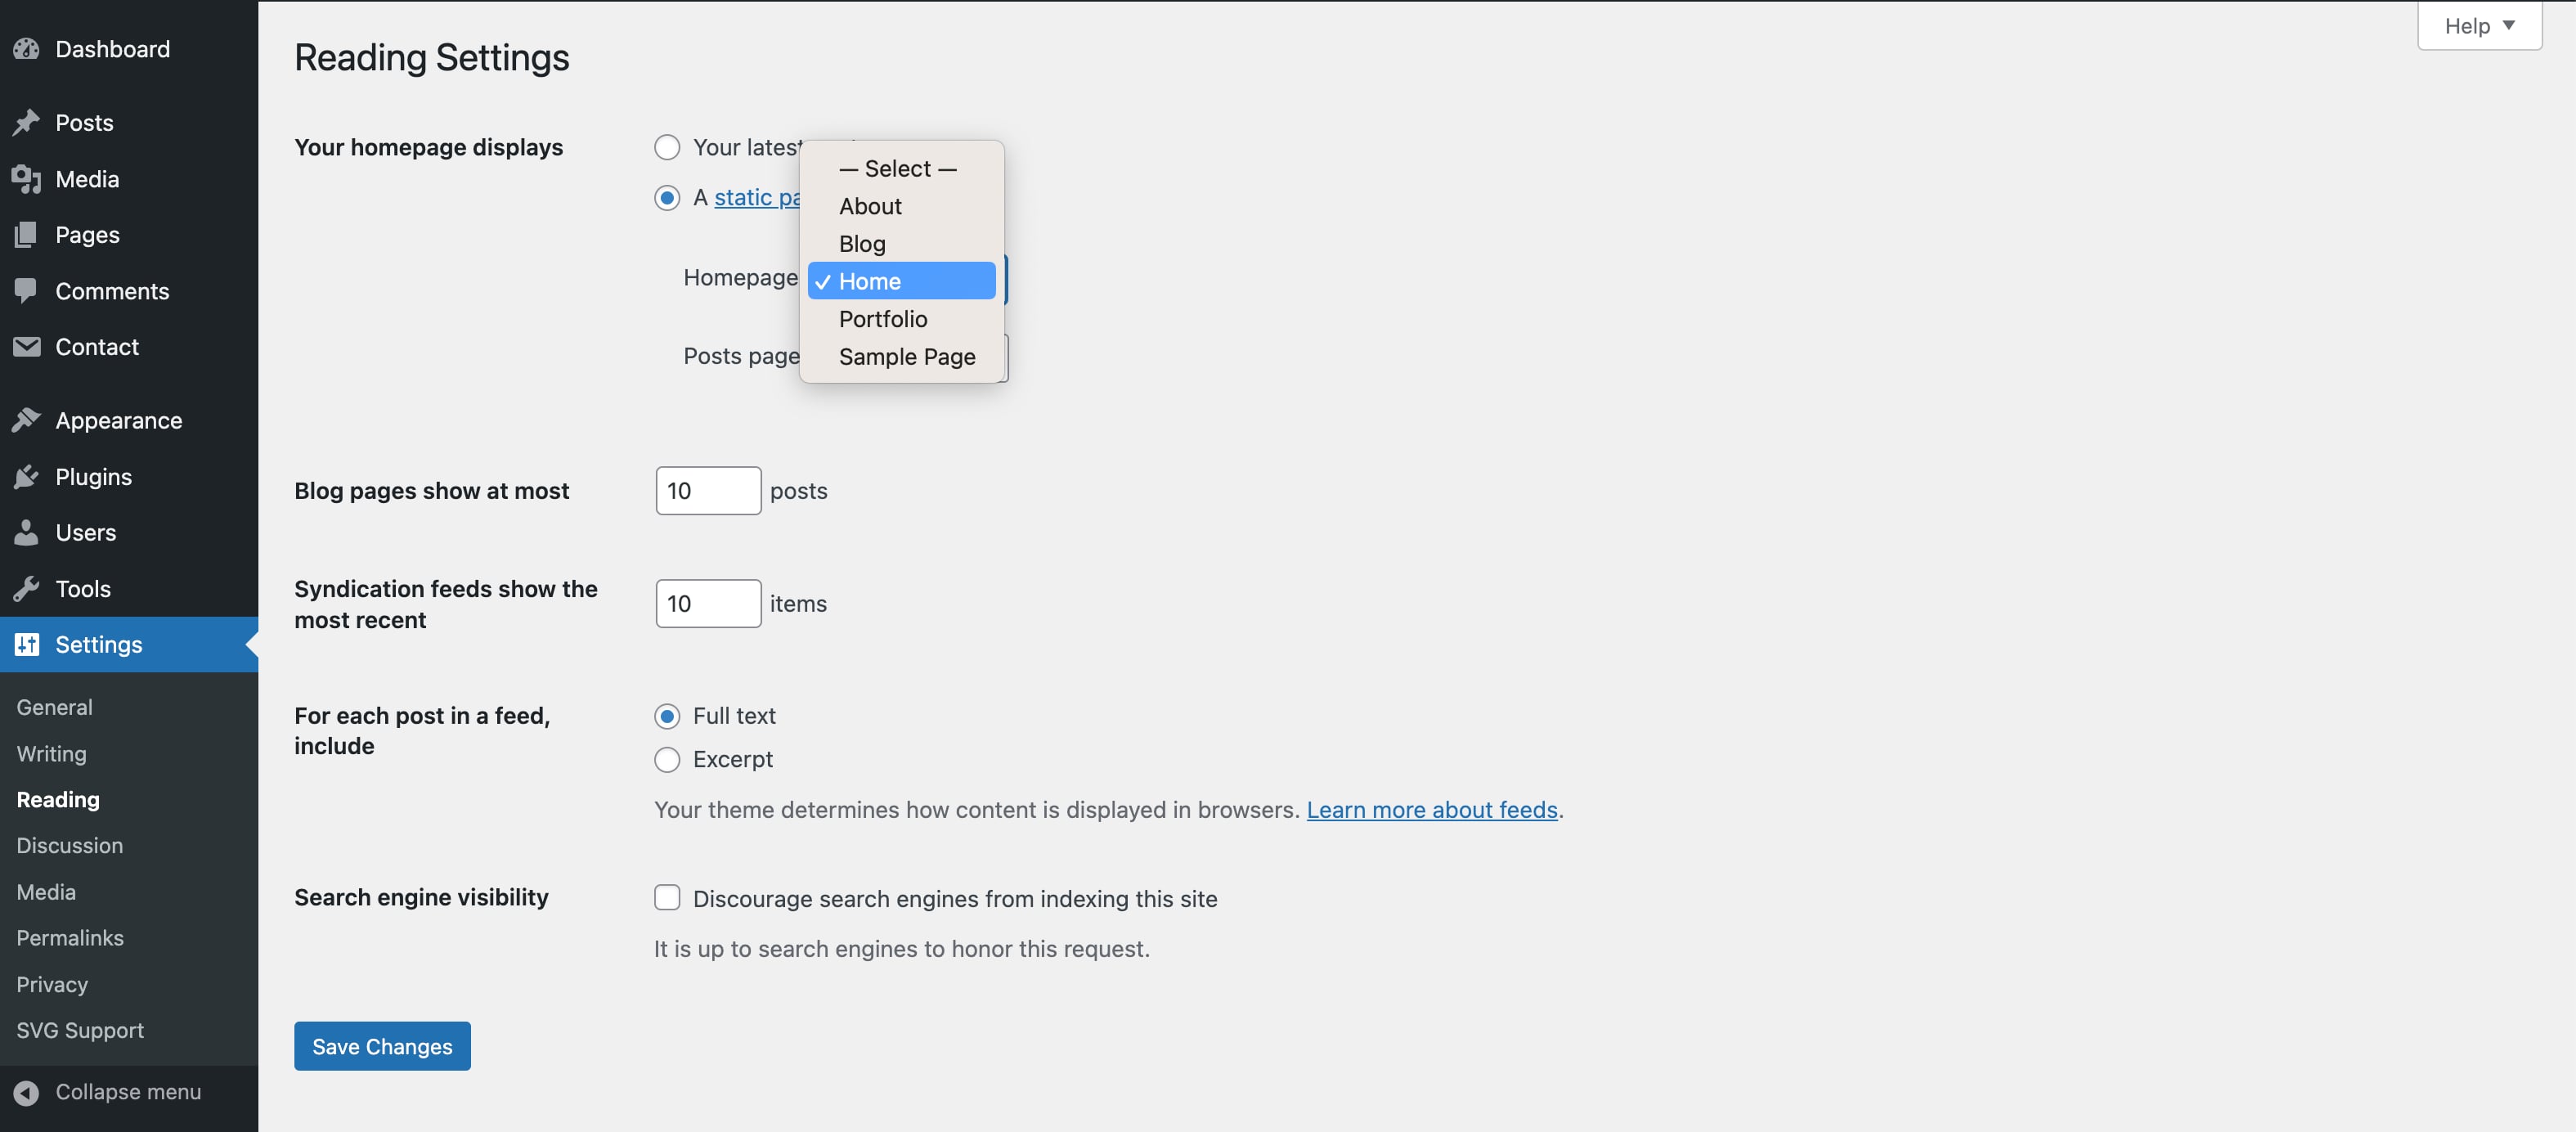
Then we need to set the "Home" page we created earlier as the homepage. Navigate to Setting > Reading, select the A static page label, choose the "Home" page as our homepage. Click the Saving Changes button.
About page setup
The process is the same as what we do to setup the homepage. Choose the About page pattern or the About page alt pattern, and add a title like "About". At last don't forget double click the Publish button.
Blog Setup
First, we need to create a blog page. Navigate to Pages > Add New Page, select the blog page pattern, add a title like "blog", double click the Publish button.
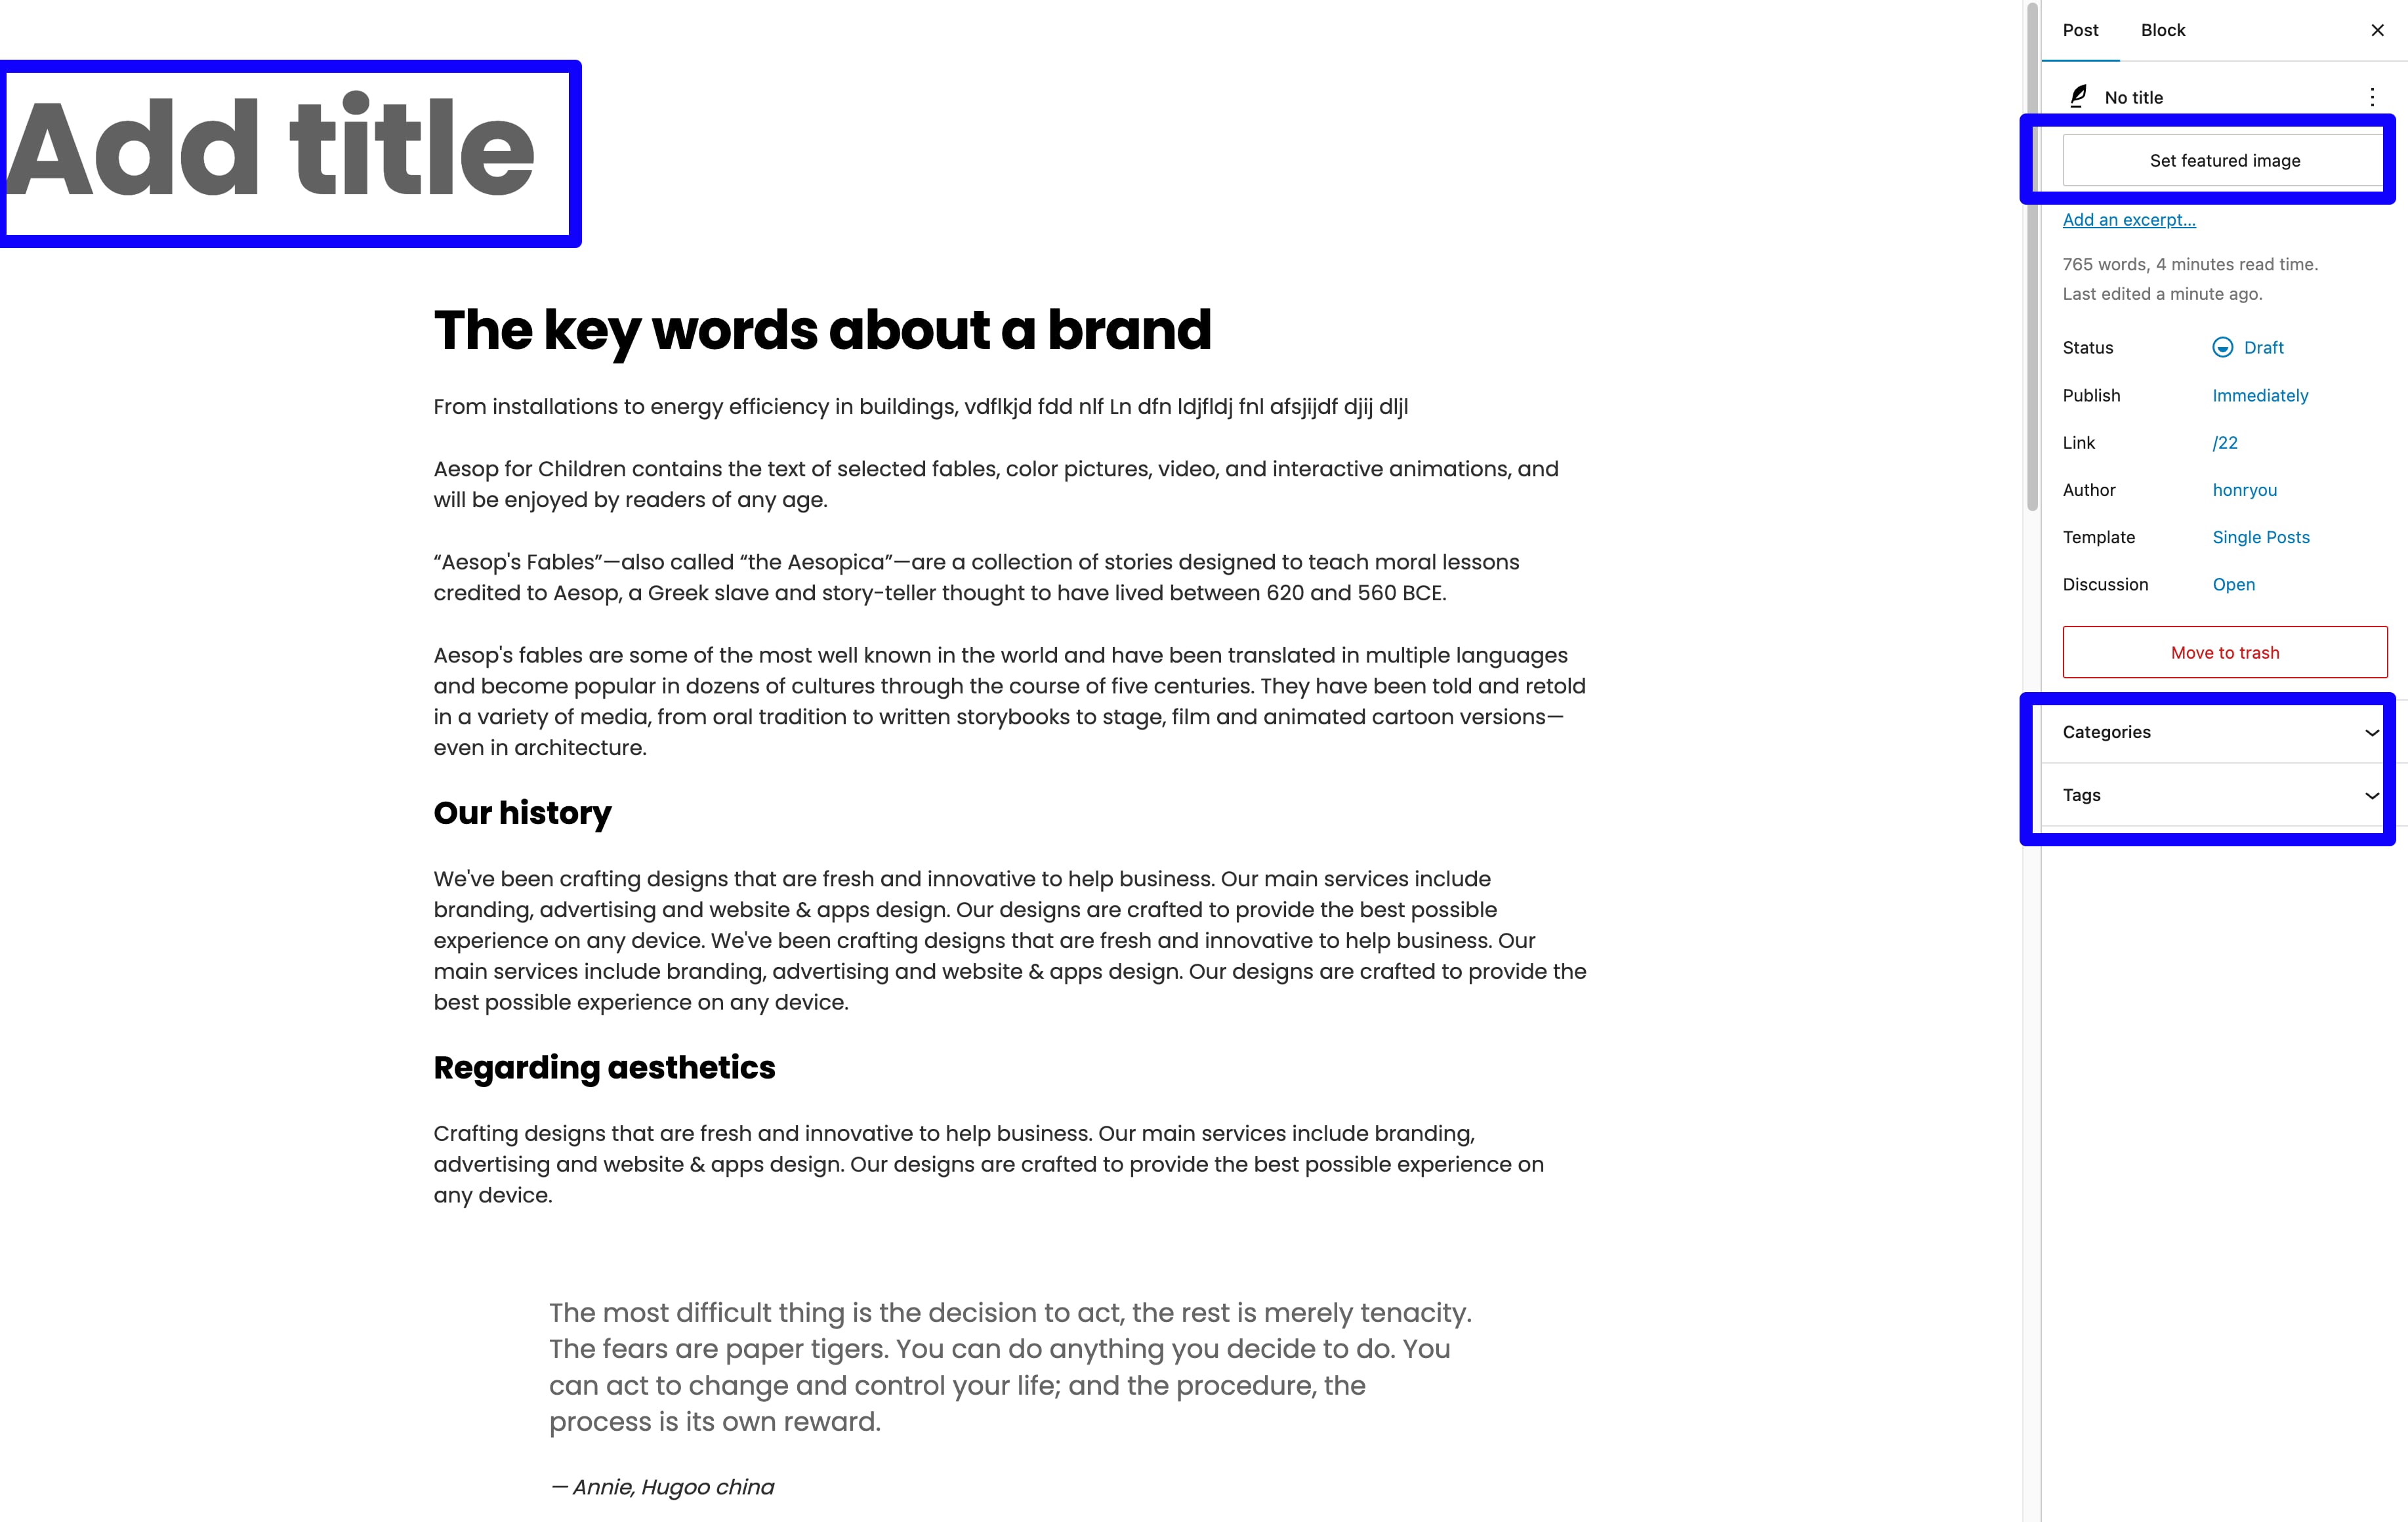
Then, you should add some posts by navigate to Posts > Add New. Choose the Single post pagepattern, enter an item title, change the content as you need and set the featured images at the right sidebar. If you want to categorise your post items, you can add post categories. You can create a new category by navigating to Posts > Categories or just create it from the post item creation page. Add tags to the post is almost the same way as we do to add the categories.
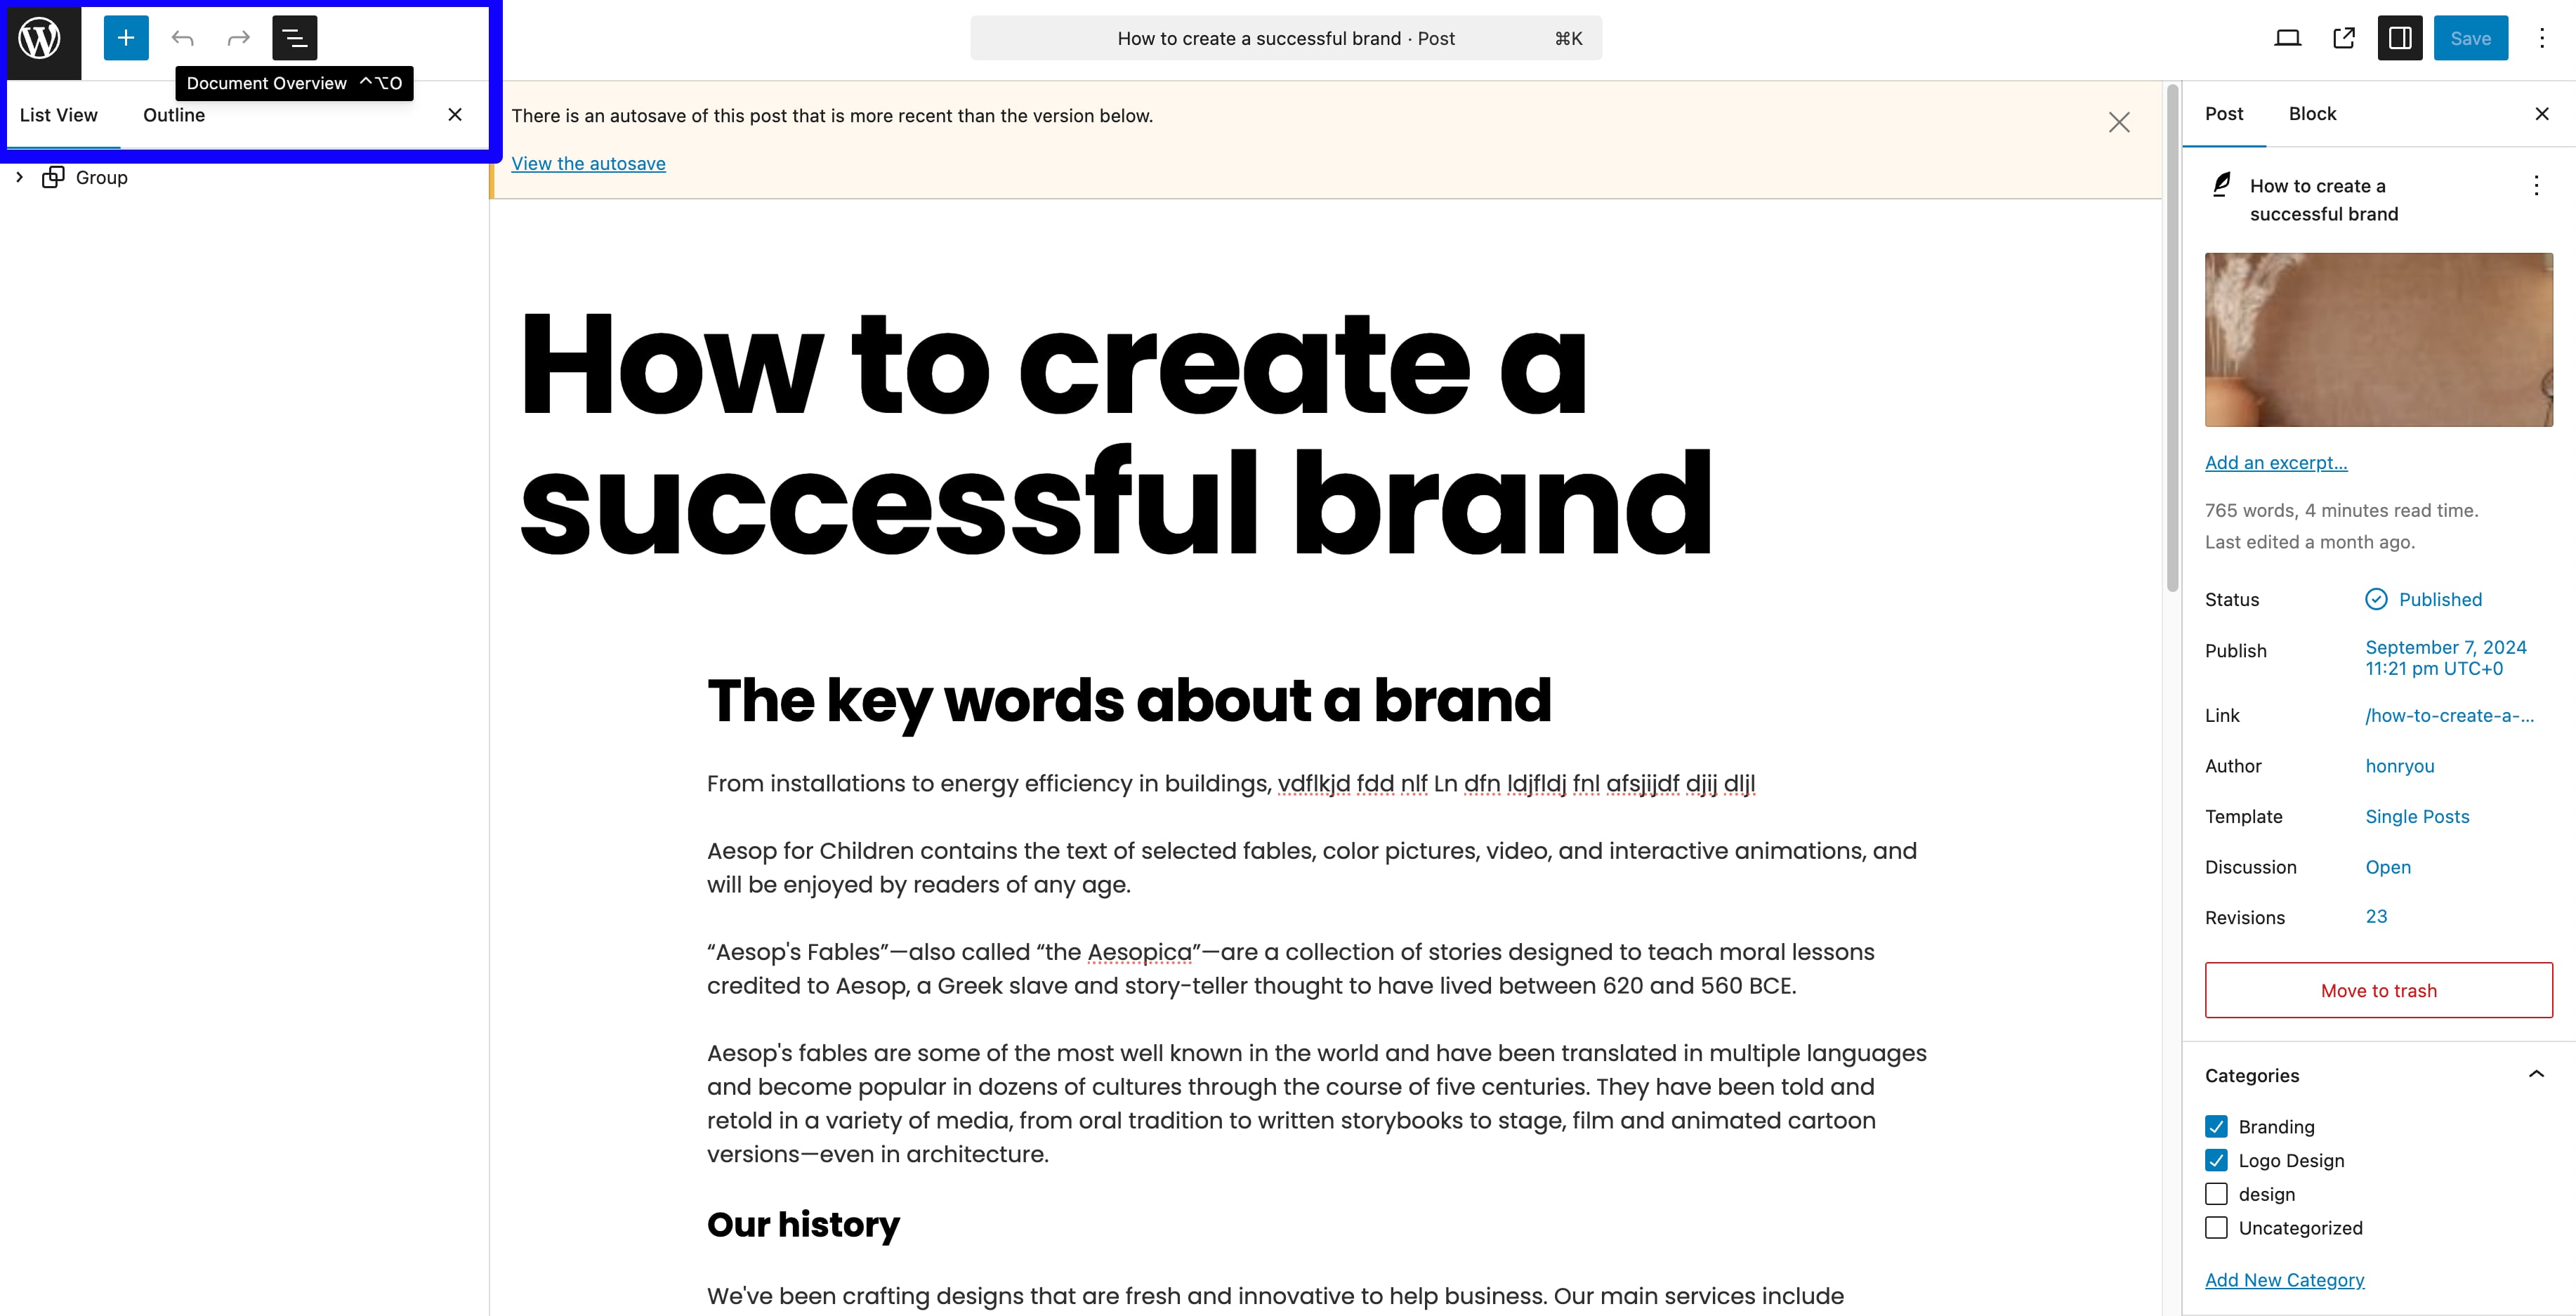
Click the Document overview button at the top bar you can view and edit the post content more easily and clearly.
Portfolio Setup
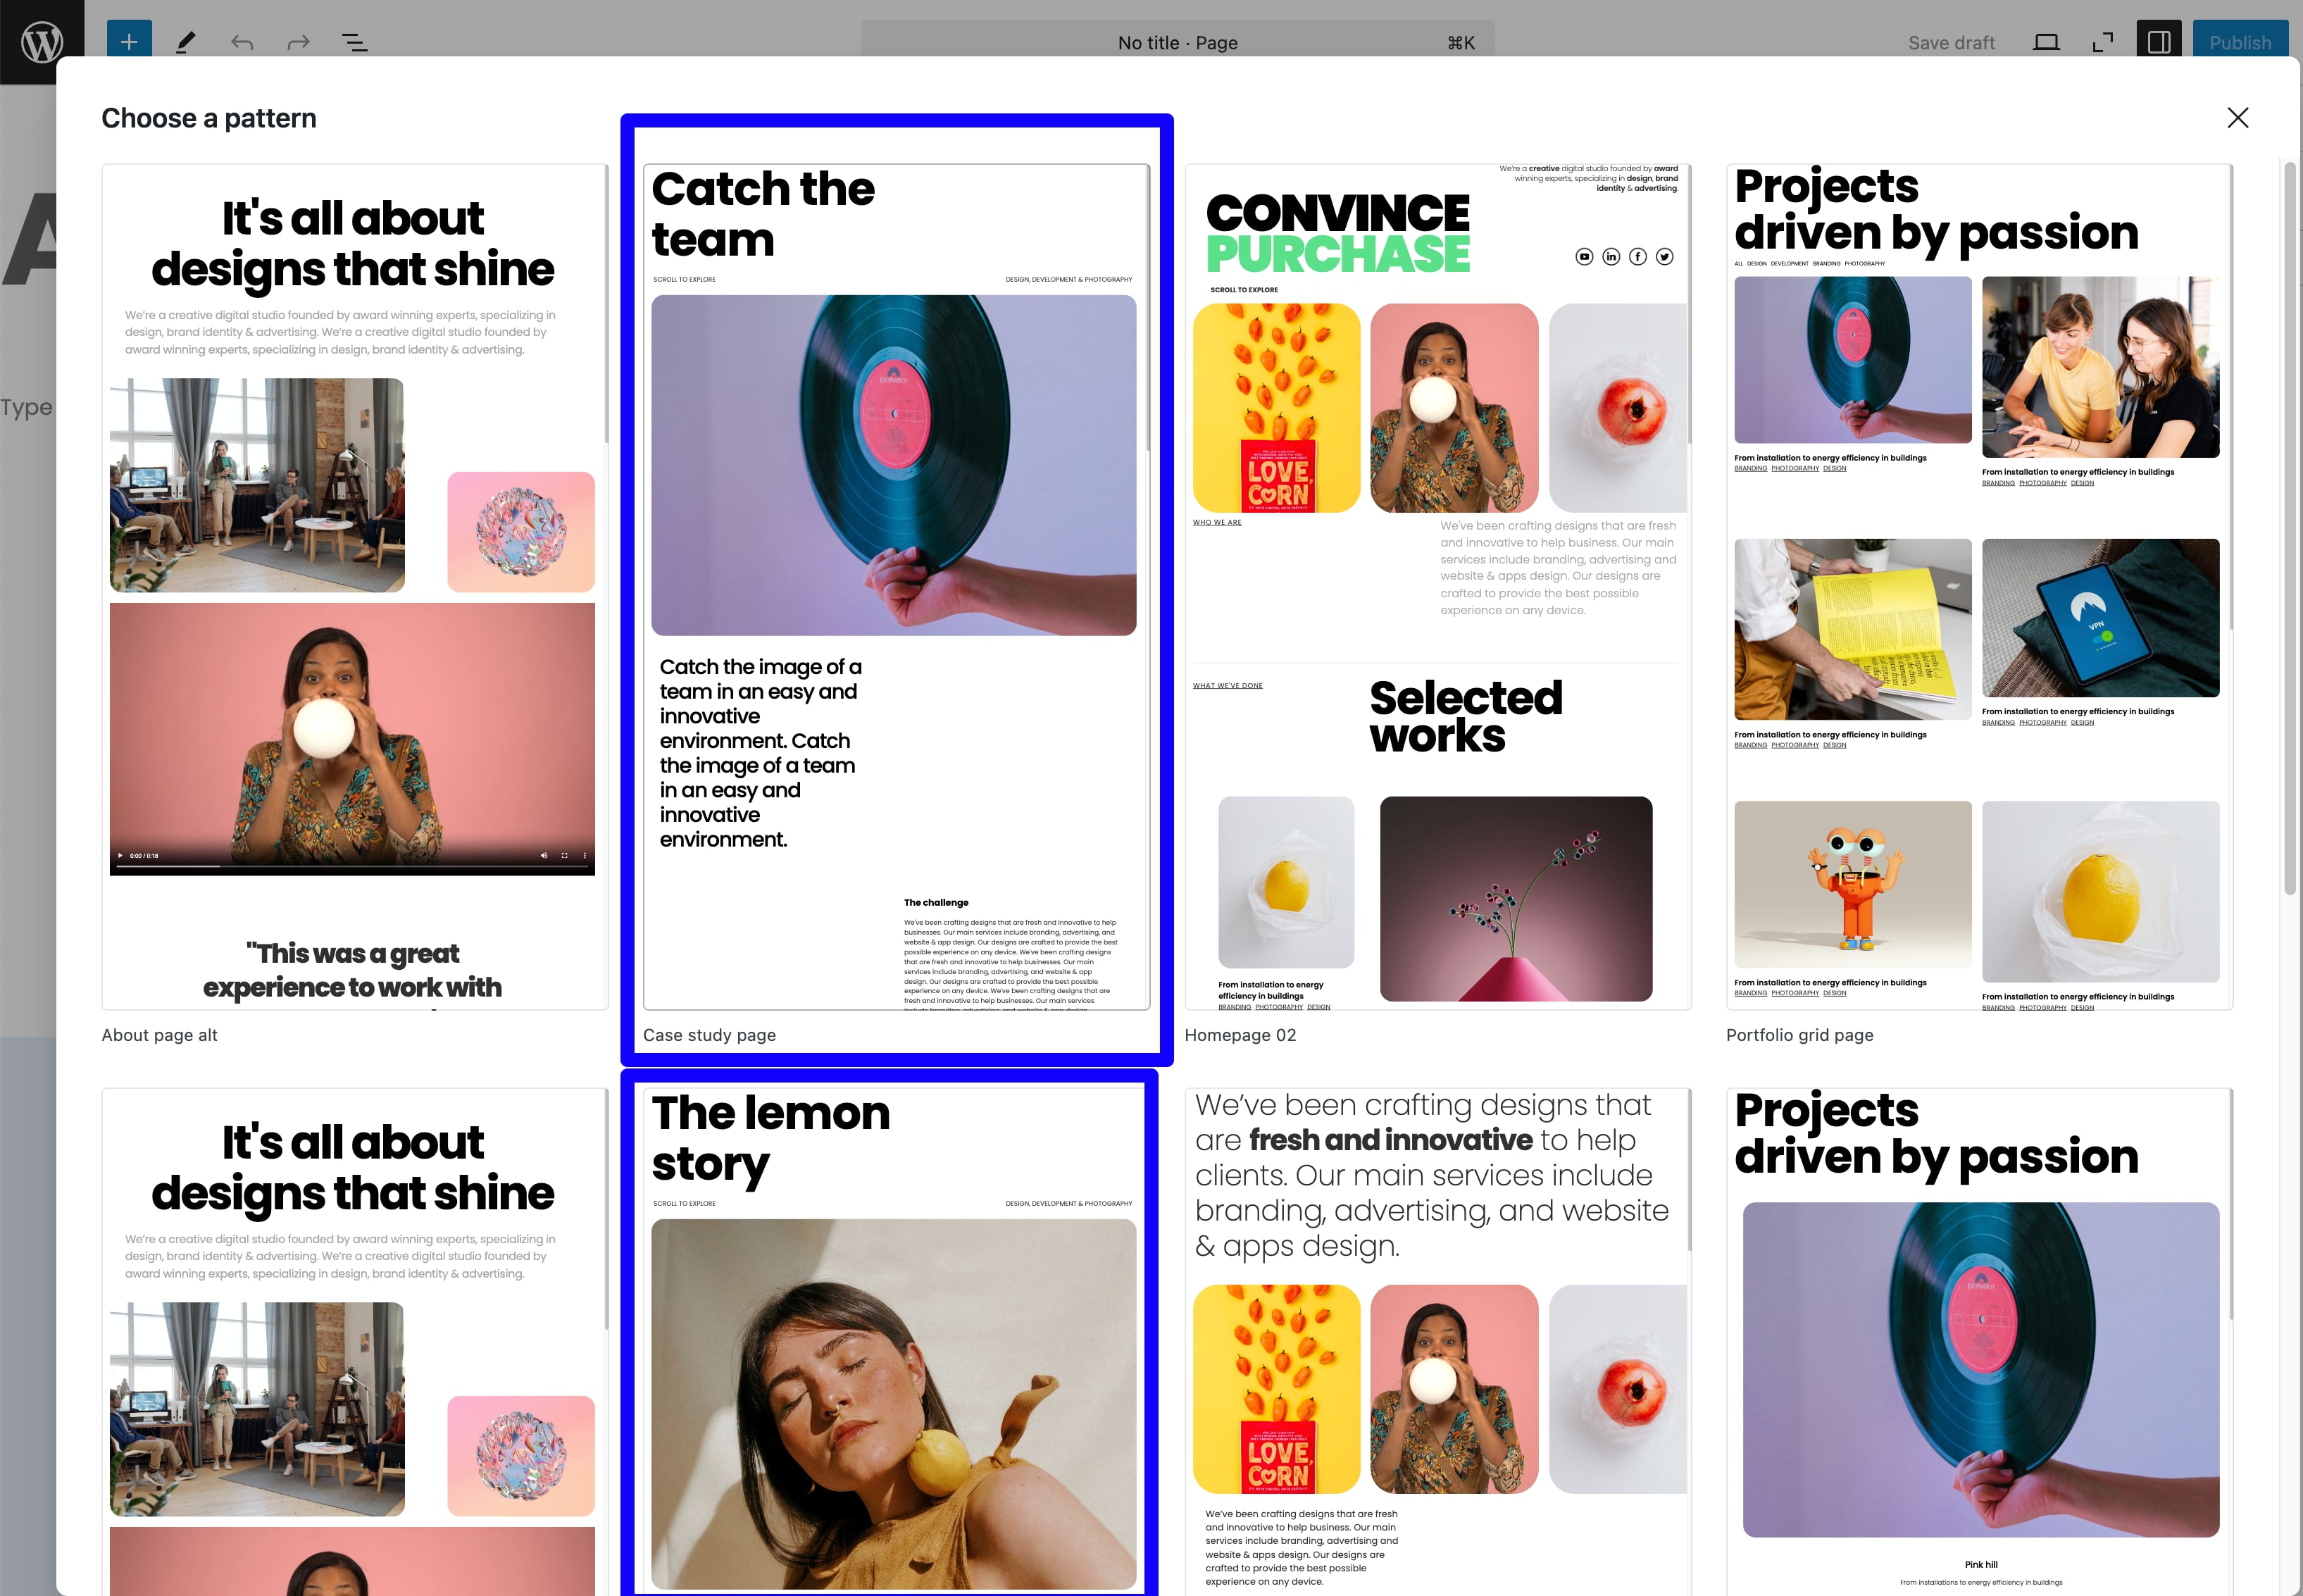
First, we need to setup the portfolio page. It's the same as we did to setup other pages above. Choose the Portfolio grid page pattern or Portfolio stack page pattern, then add a title like "Portfolio", don't forget double click the Publish button.
Then, we need to add some portfolio item pages. Navigate to Pages > Add New Page, this time we need to choose the Case study page pattern or Case study page alt pattern from the pop-up window, then you can edit the content of this portfolio item, don't forget double click the Publish button.
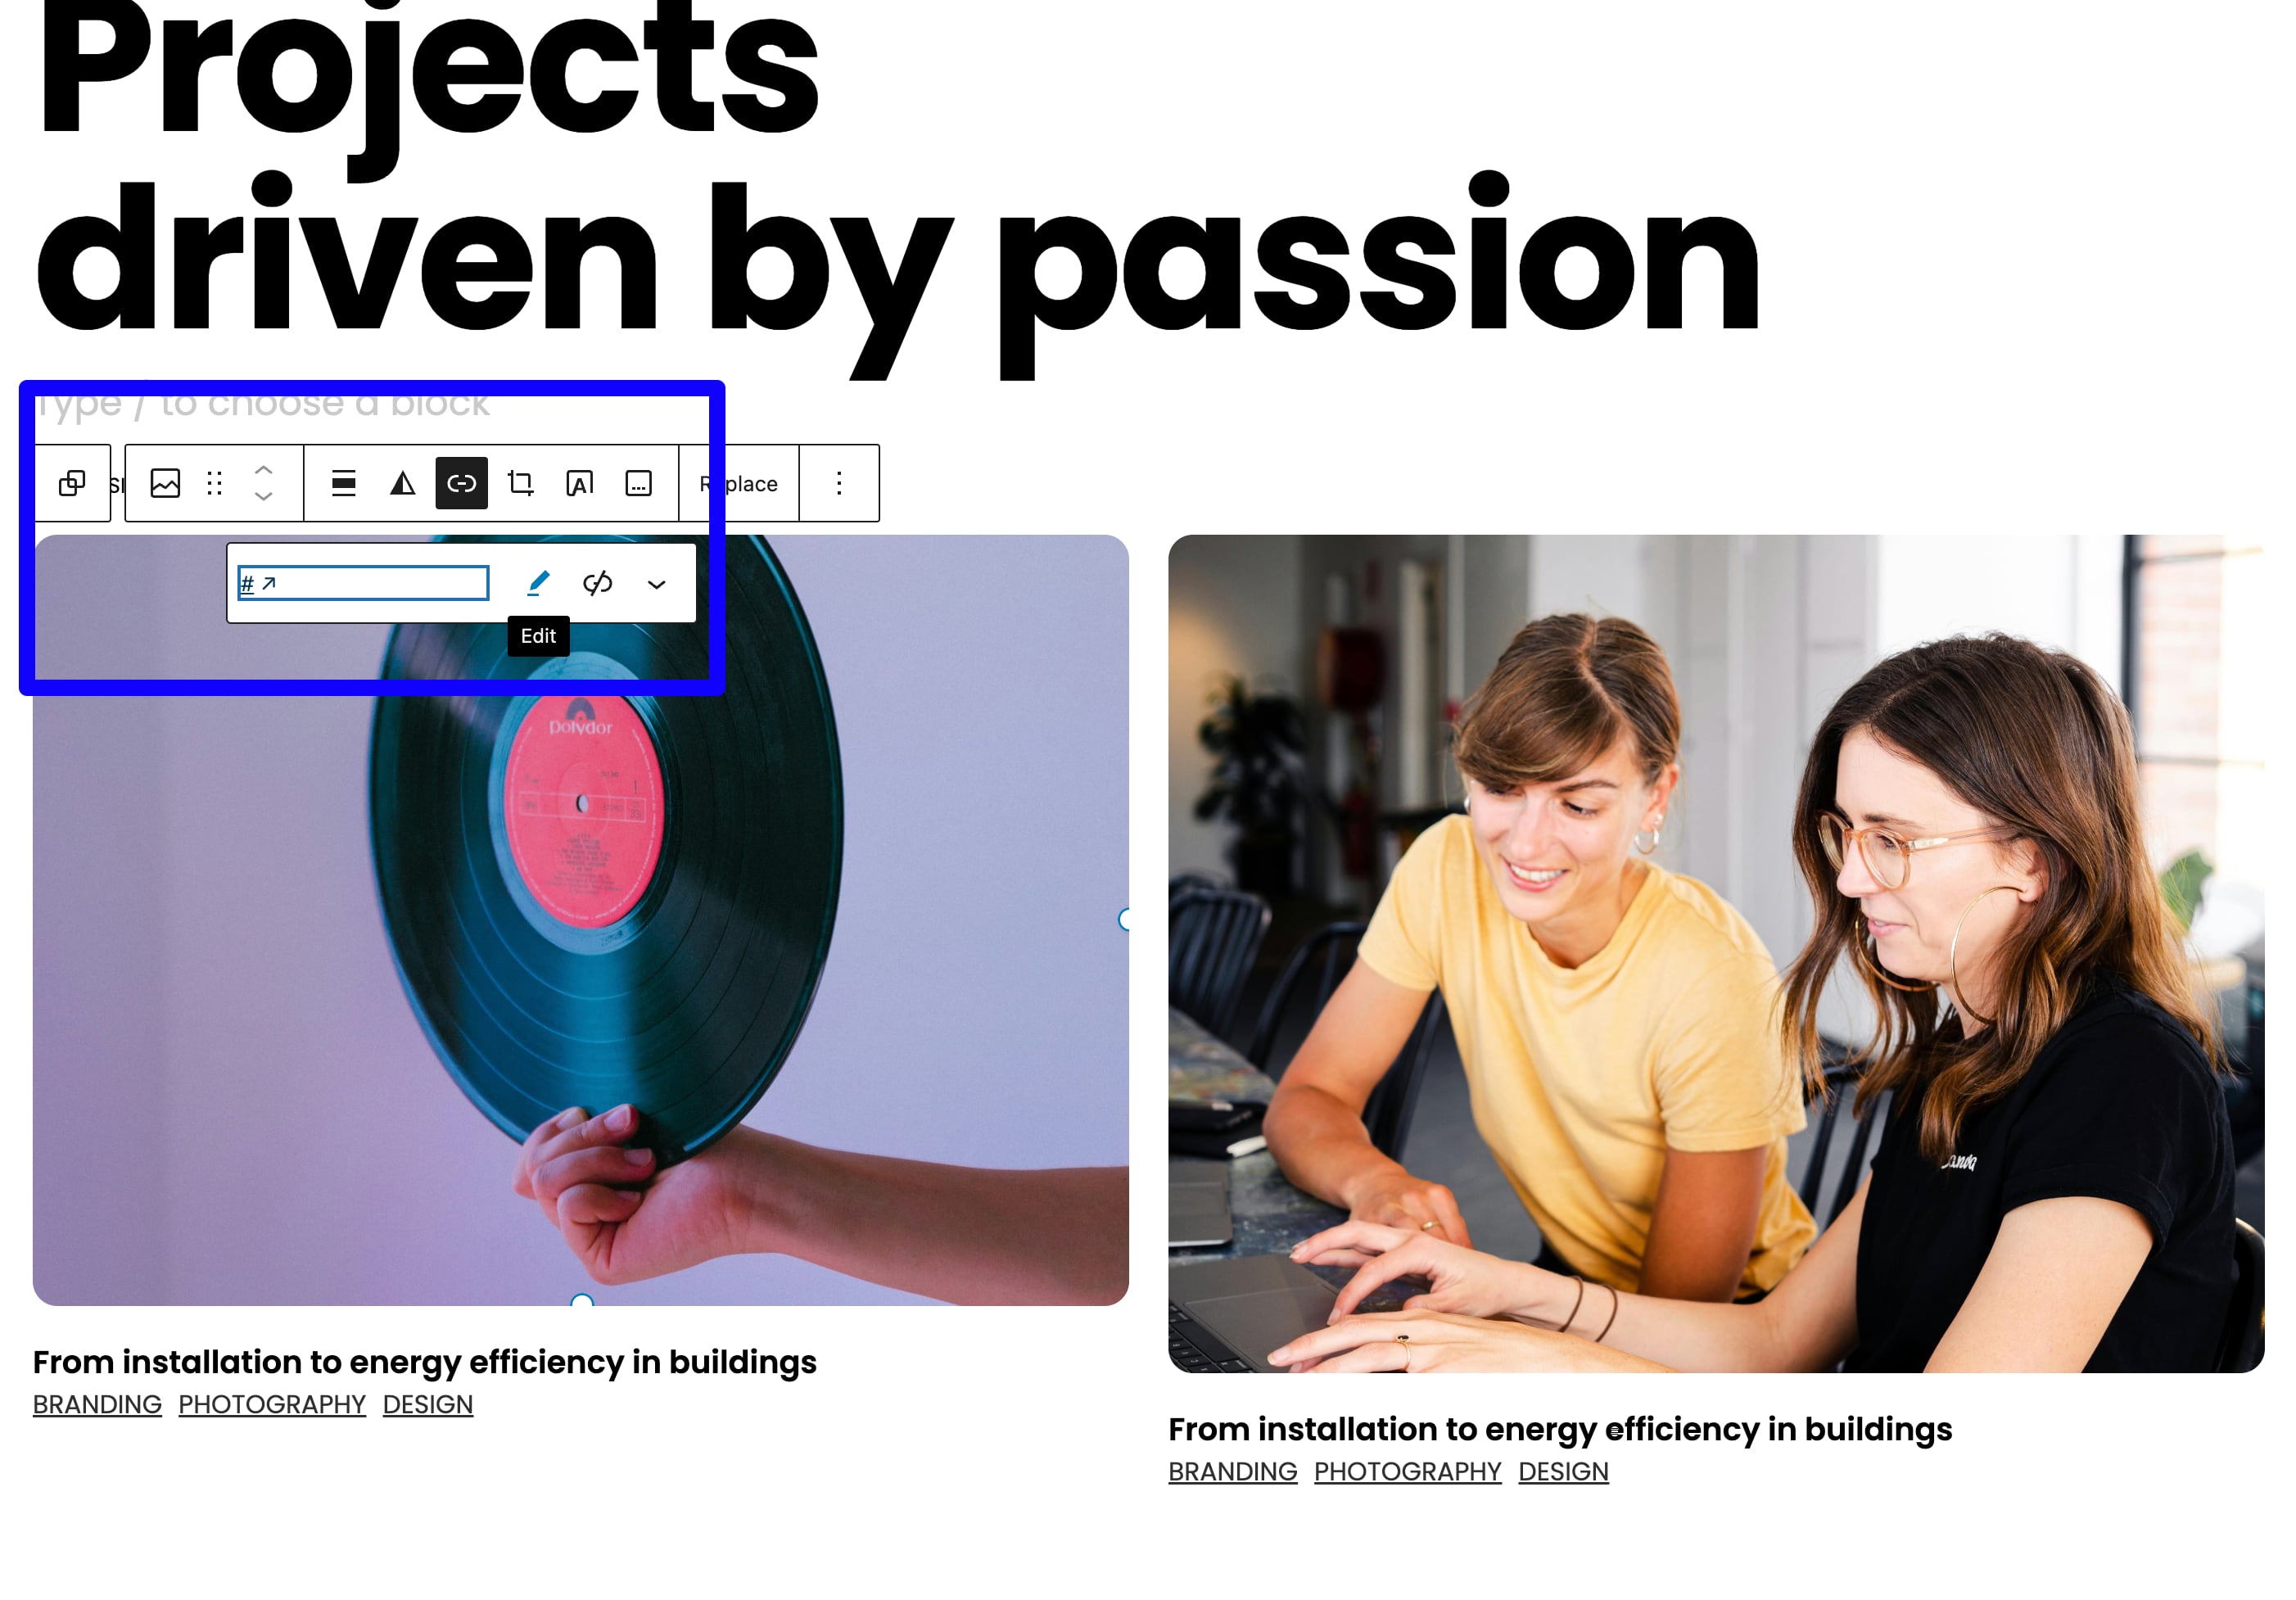
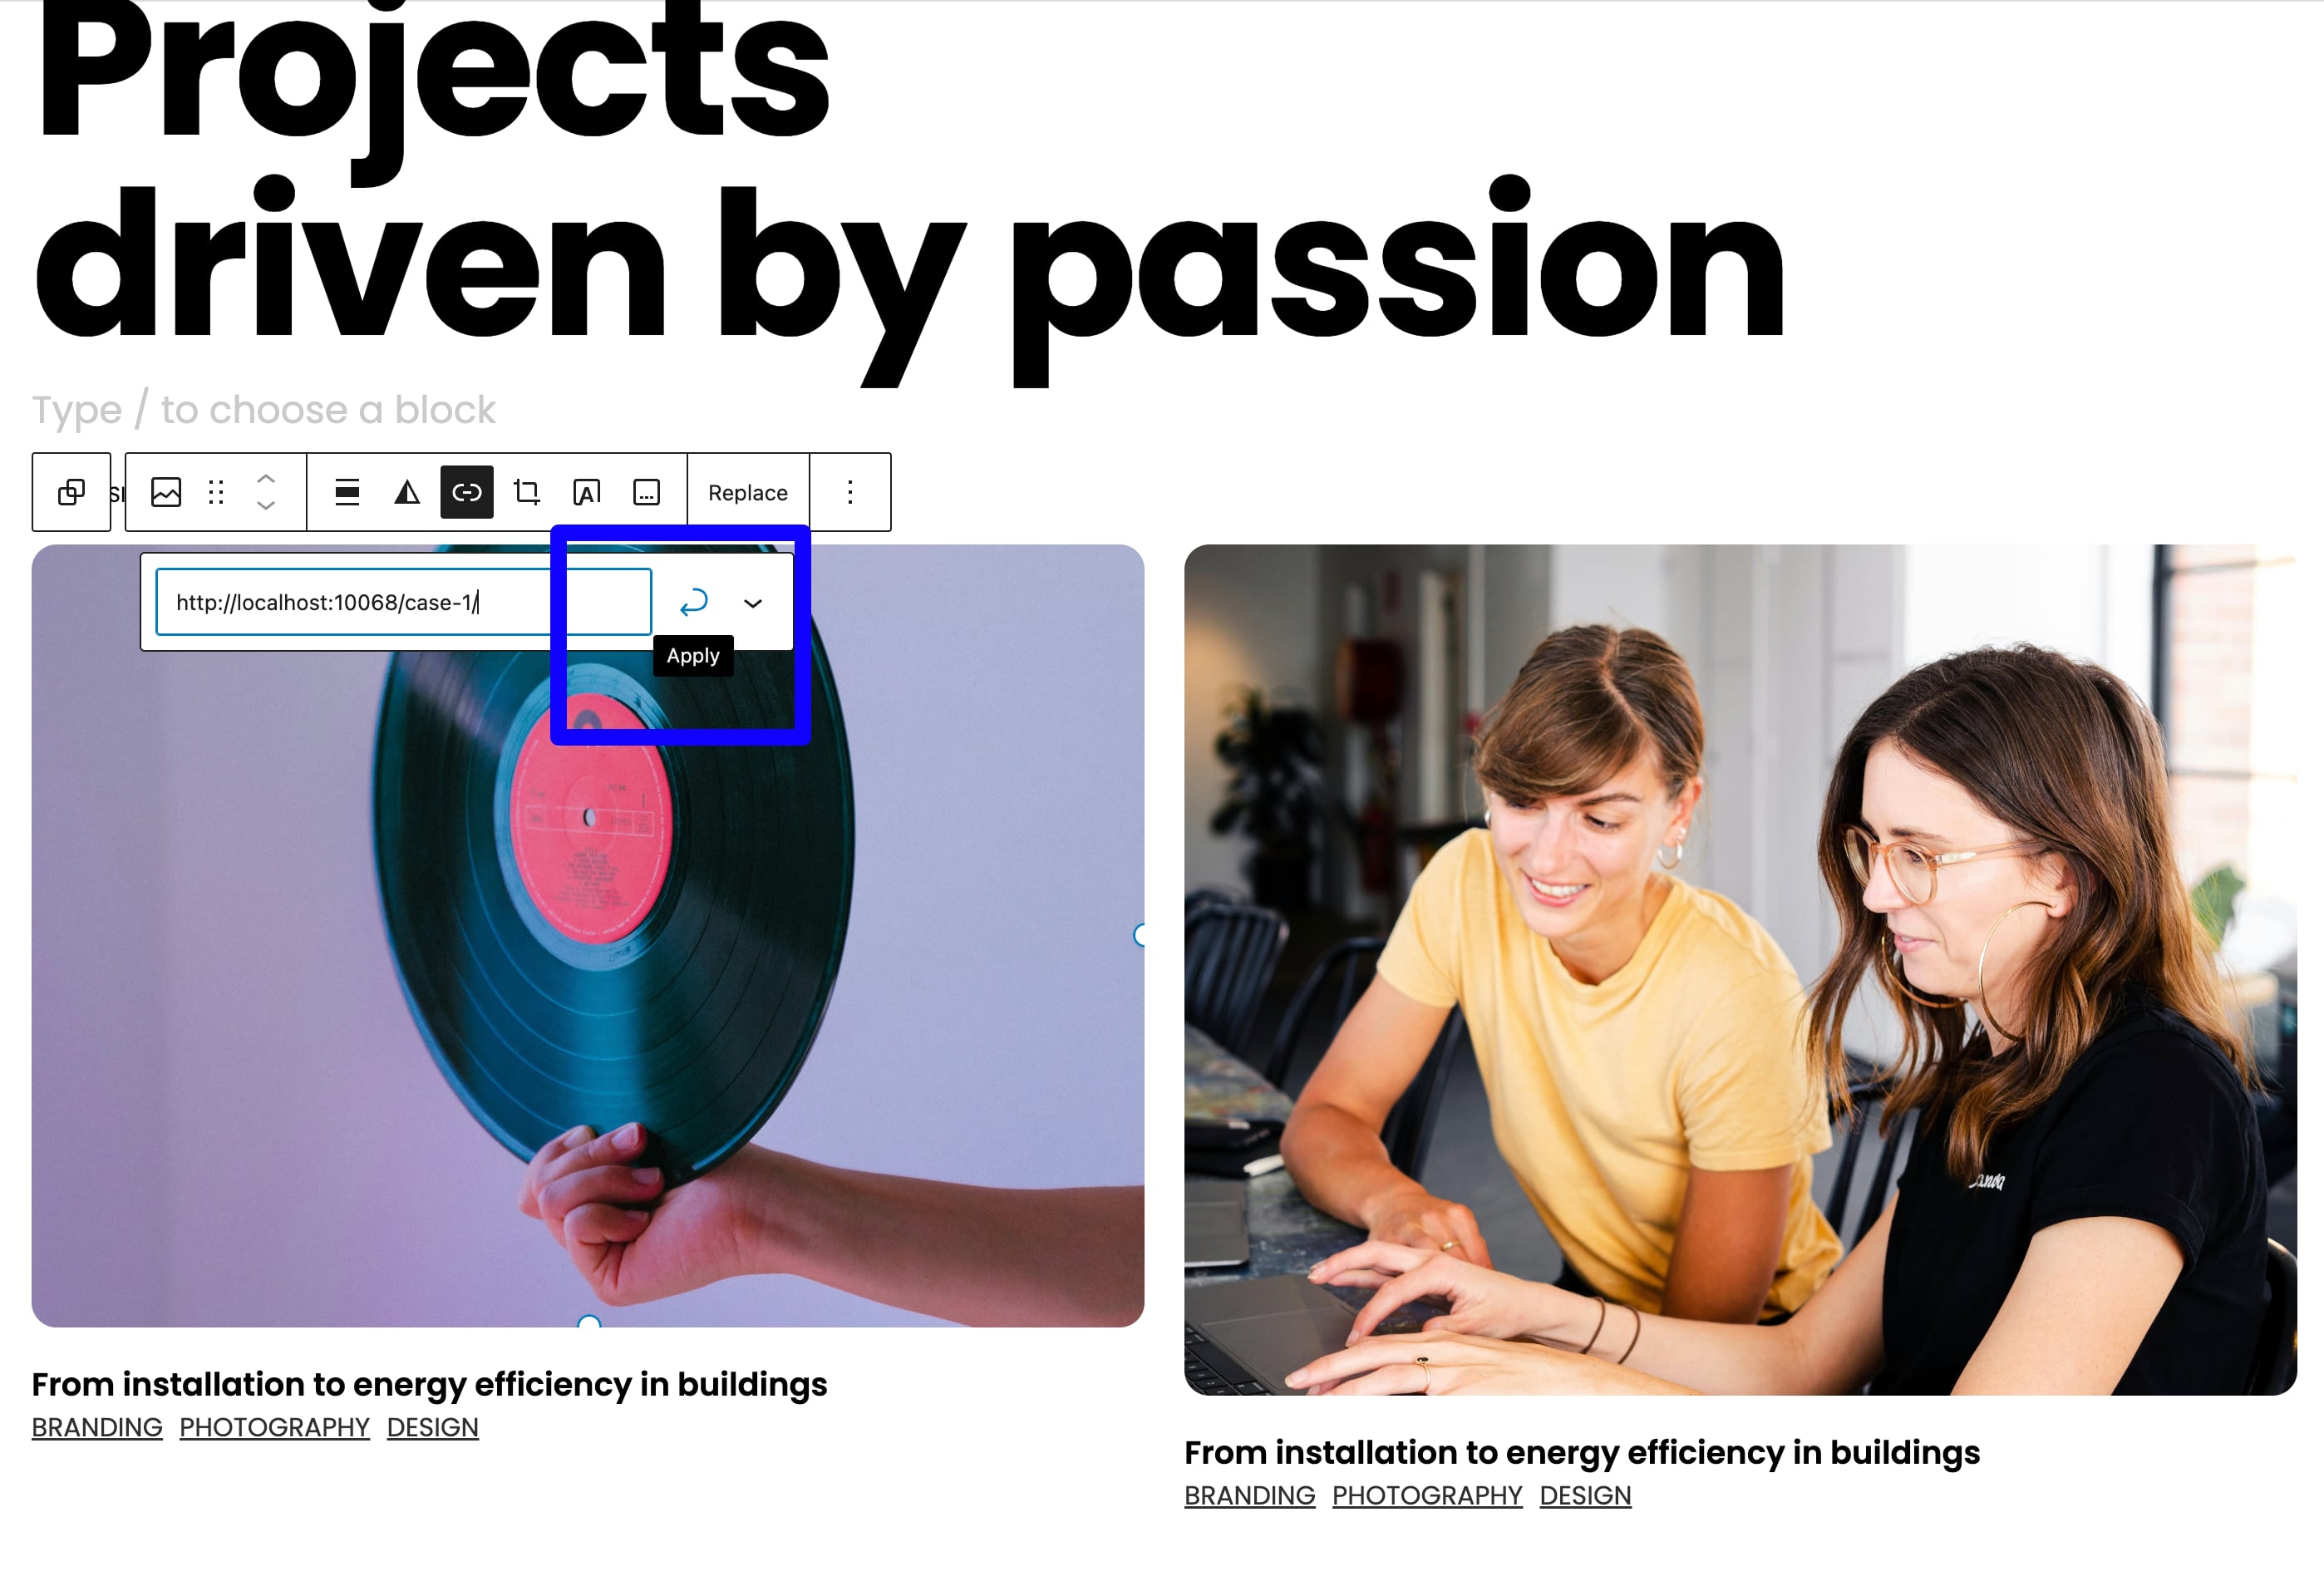
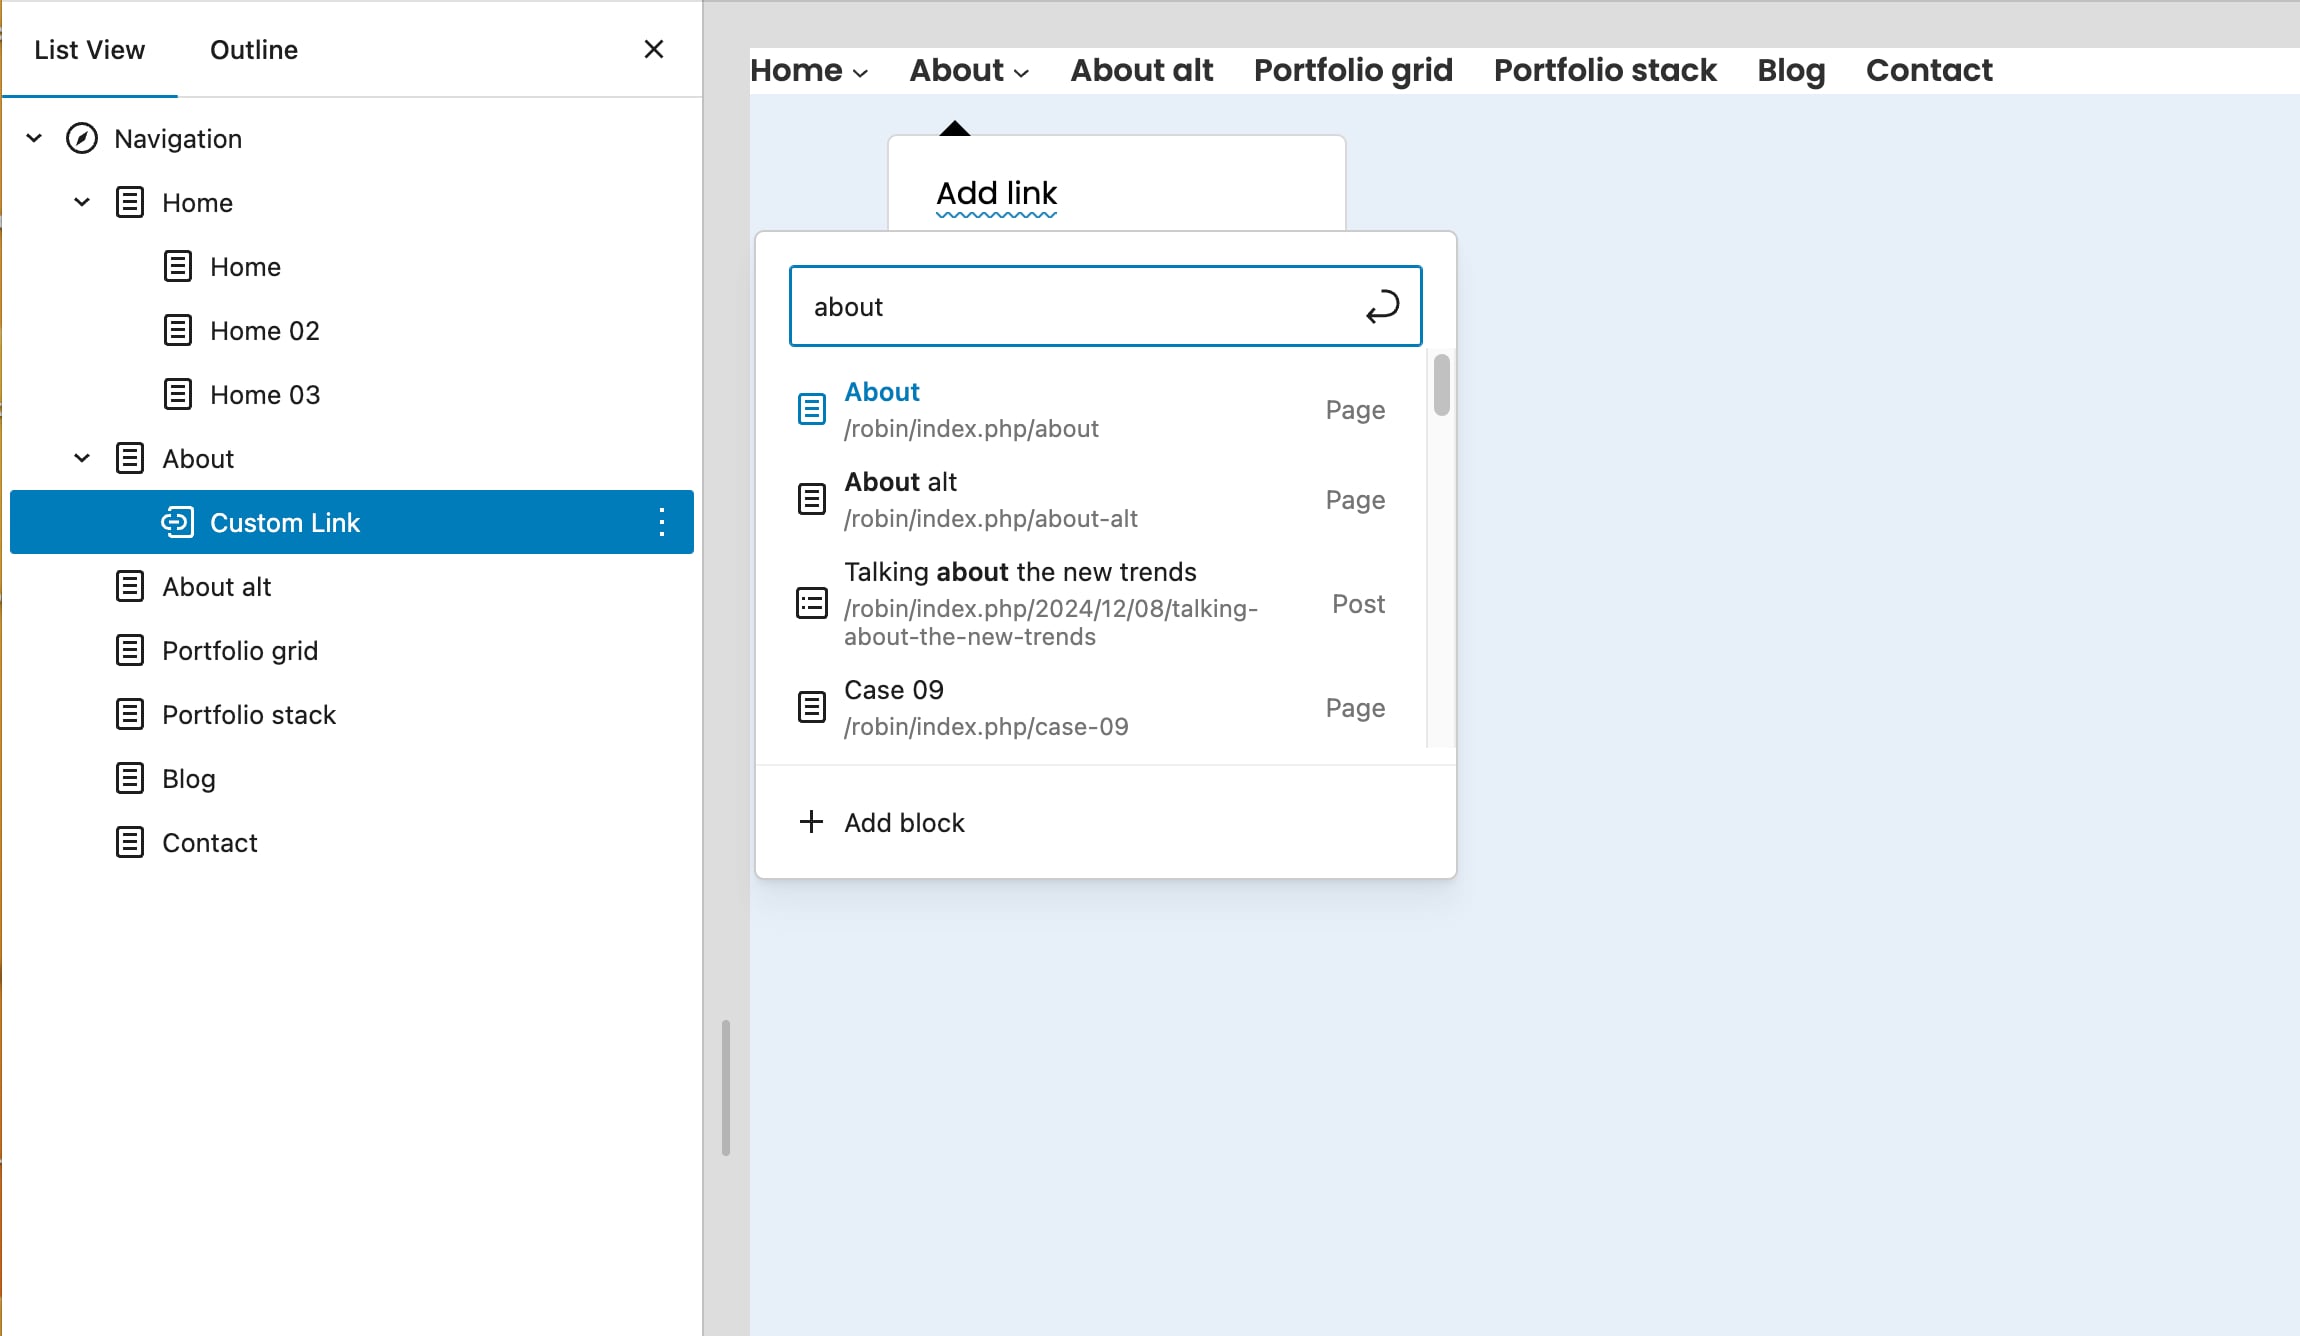
Now we should eidt the porfolio page that we crteated earlier, replace each image to your own poftfolio images, and link each image and title to the corresponging portfolio item page you've created.

Click the Link icon, the click the pencil Edit icon. Then type or paste the portfolio title or url, click the Apply icon. Don't forget to click the Save button.
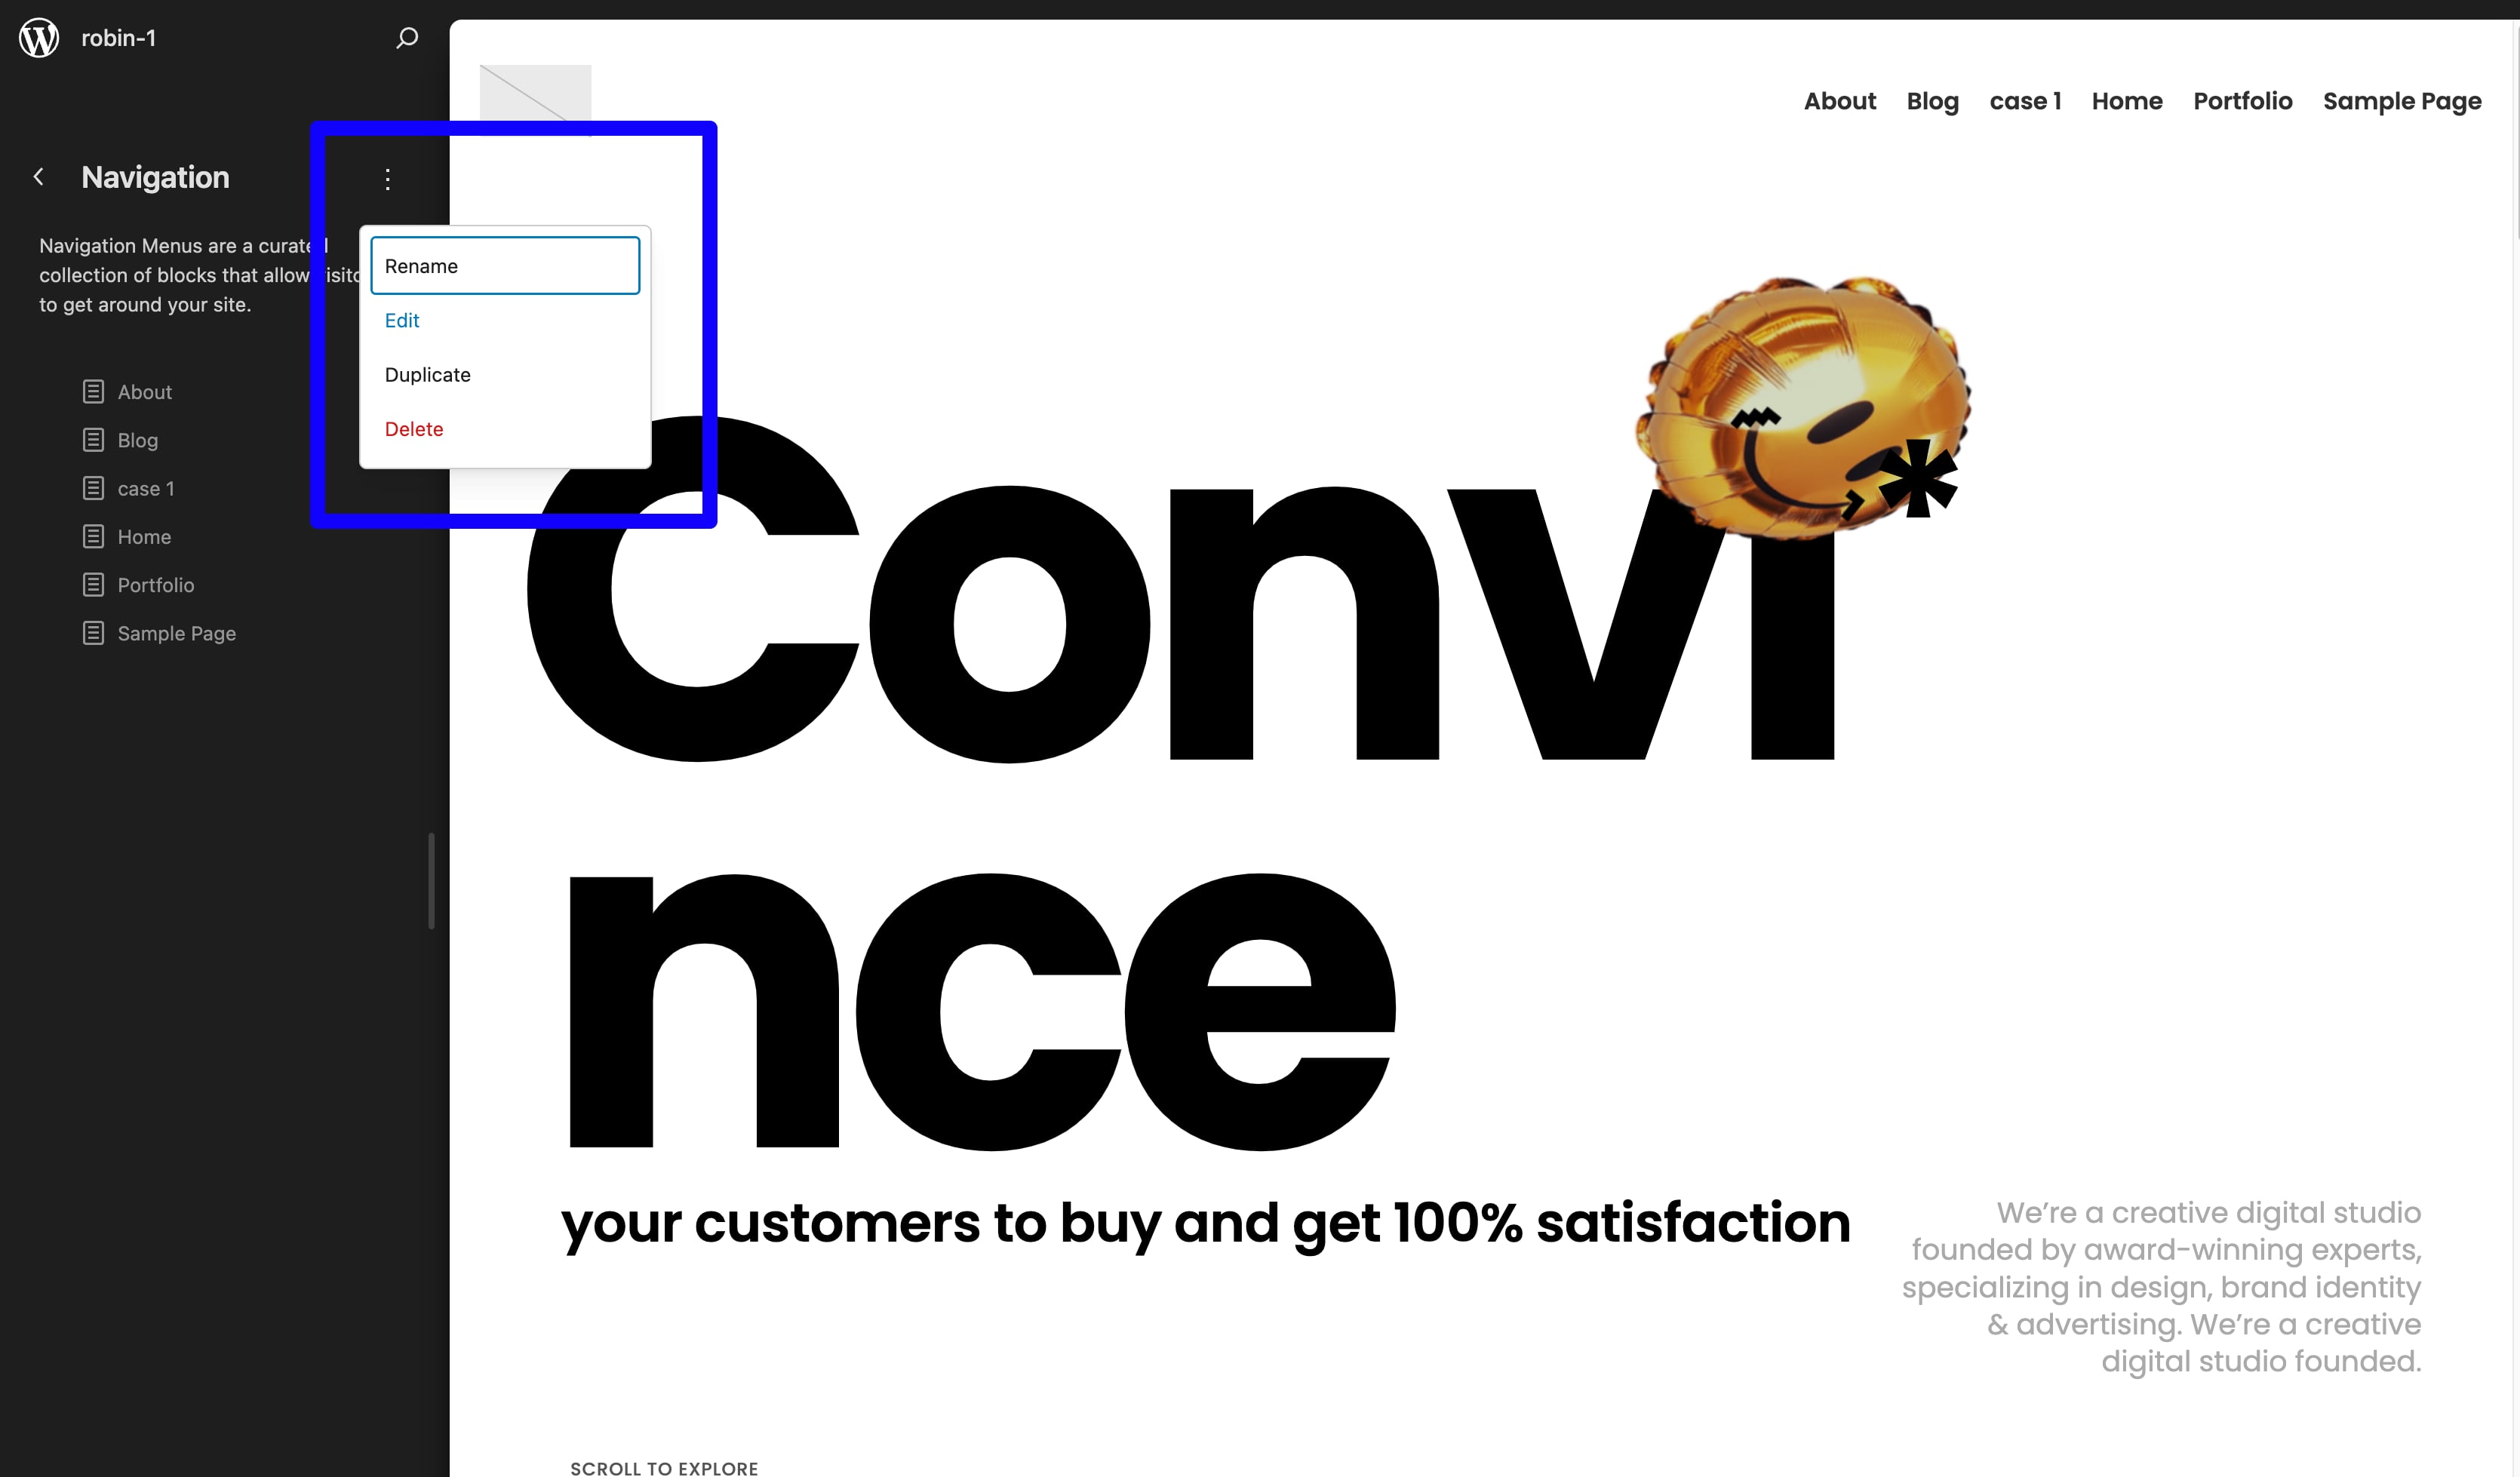
Menu
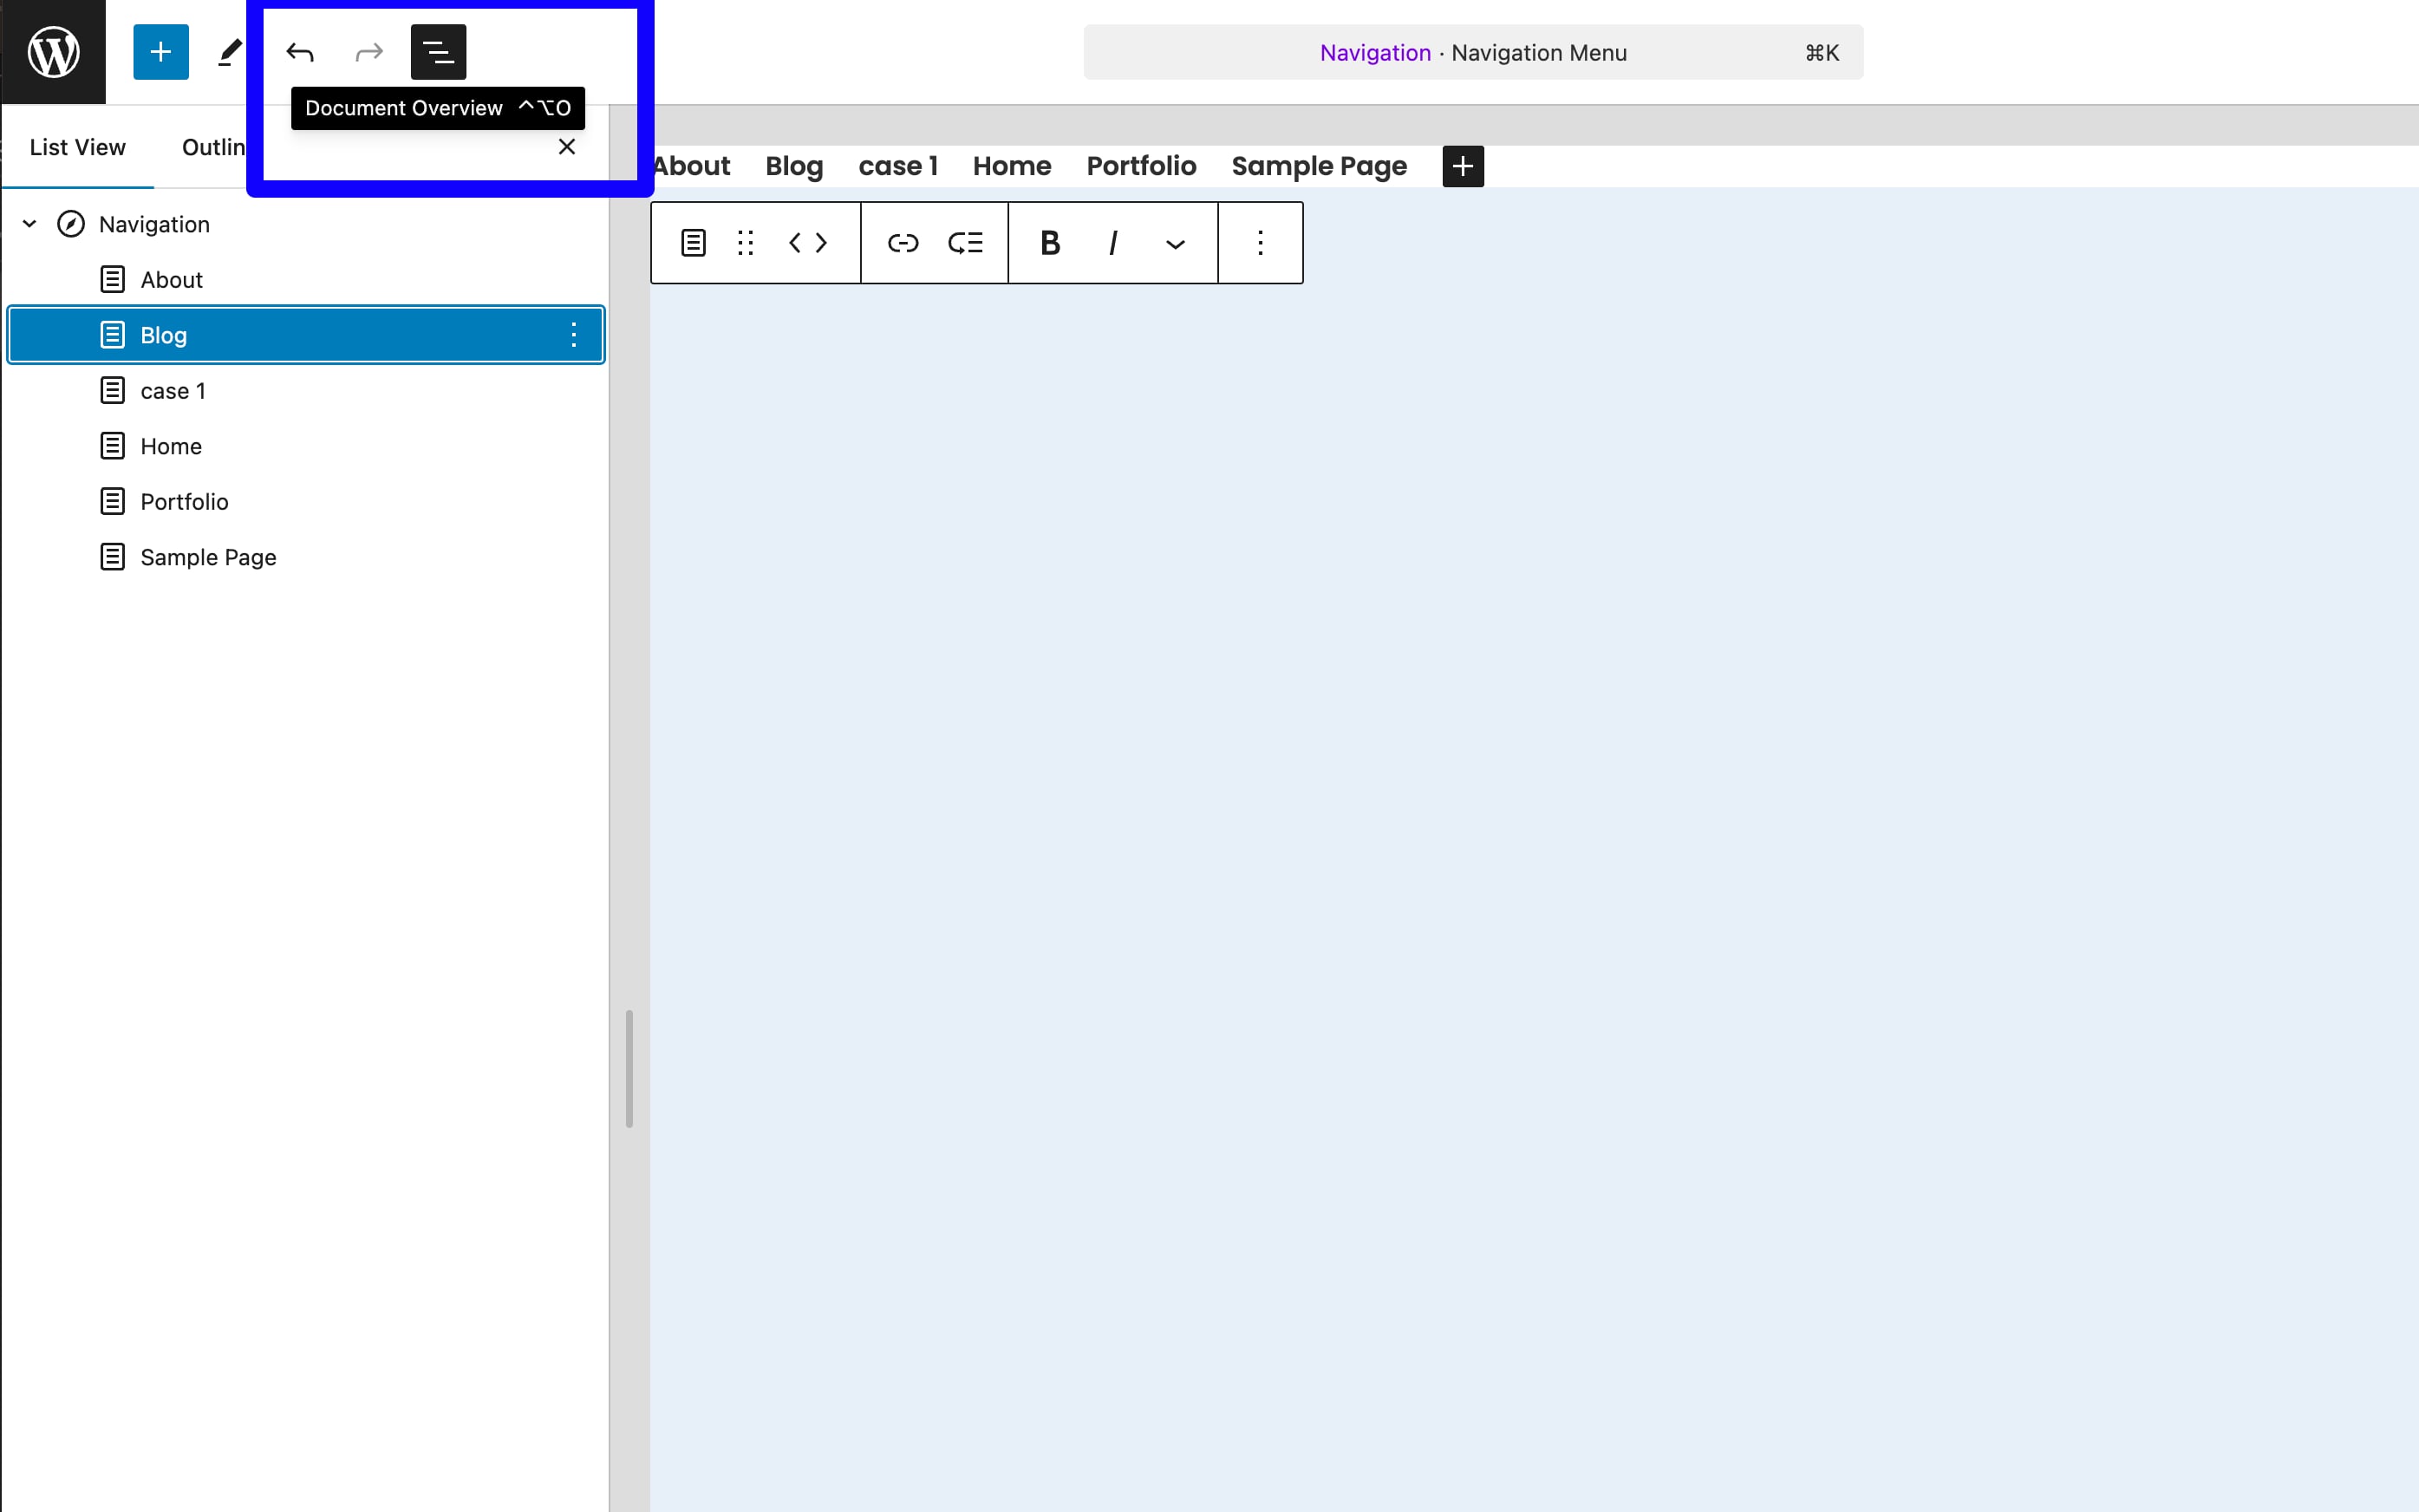
It's super simple to setup the menu. Navigate to Appearance > Editor, click Navigation, click the pencil Edit icon.
You can also open the Document Overview, so that you can easily drag the labels to change the items order or add and delete menu items.
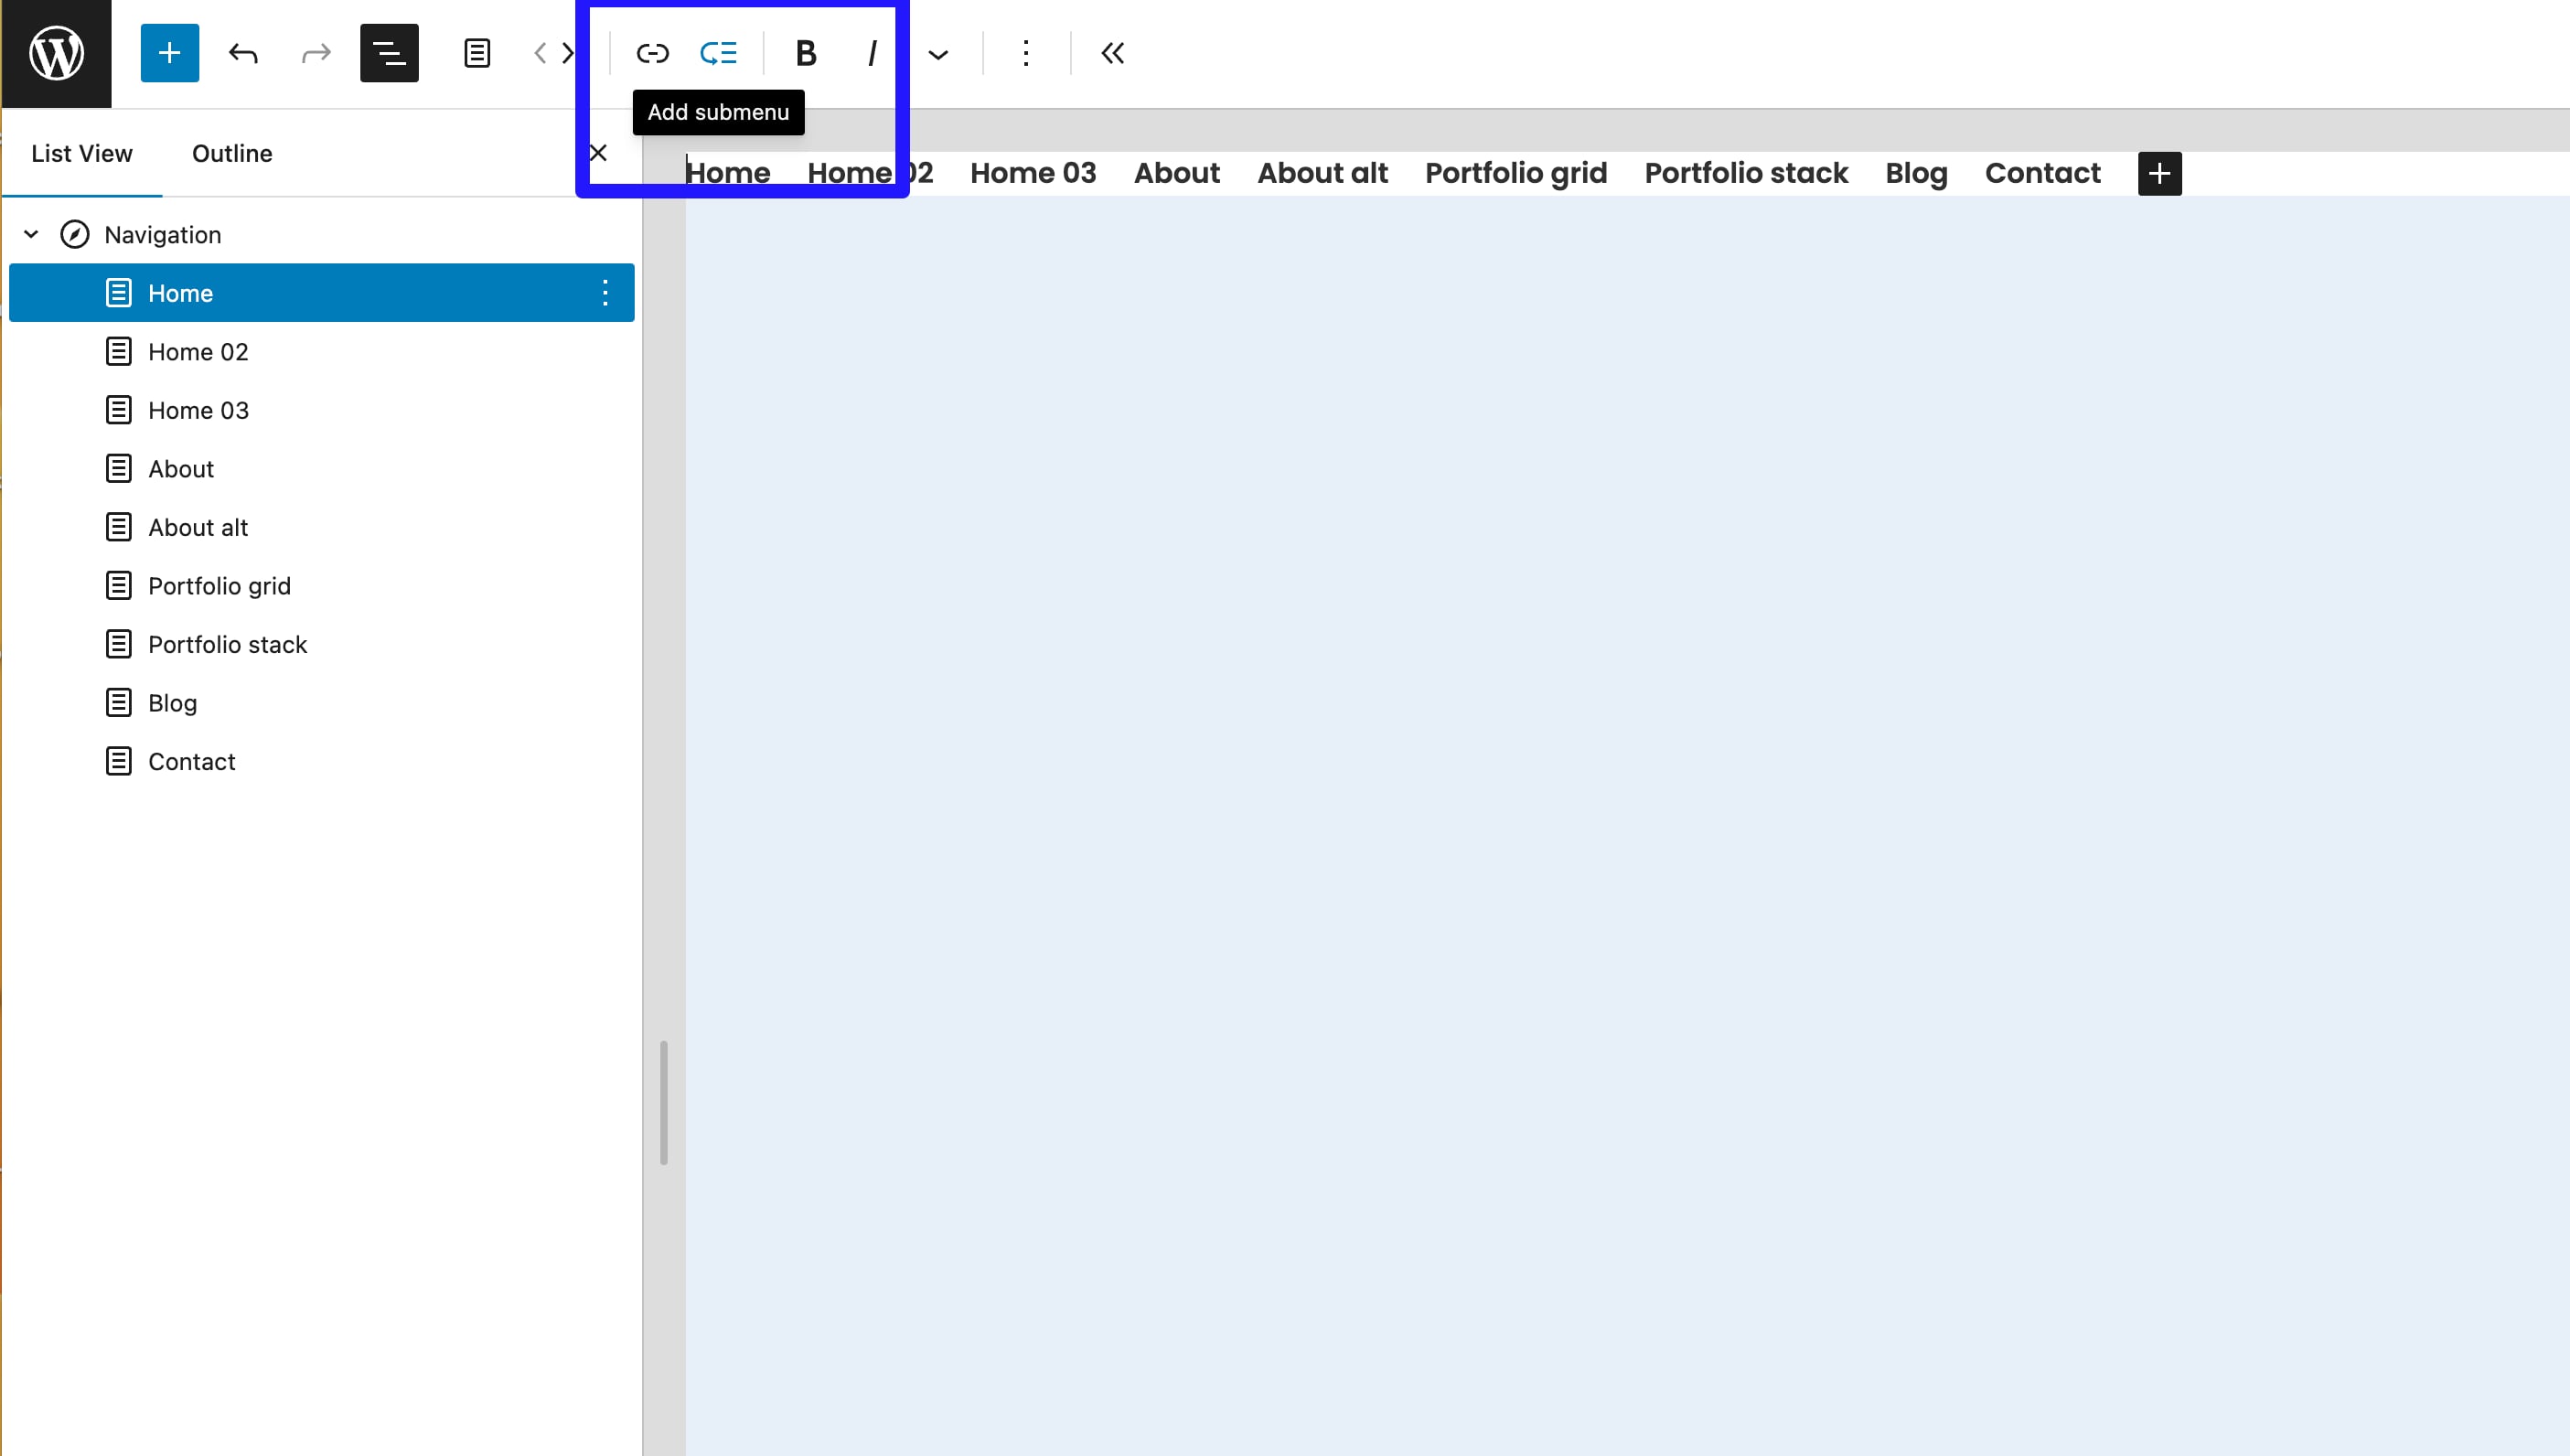
If you want to add a submenu like our live preview site, just click the "Add submenu" button and select the submenu pages.
Setup the Logo
Editing the logo text, navigate to Appearance > Editor, click Patterns > Header, click and edit logo text in the header block, and choose logo.
![]()
![]()
Global style setting
Since WordPress 5.9, you can set the colors, typography, layout, spacing, and more, for the entire site via Styles. You can also edit the default appearance of blocks to streamline the look and feel of your site.
Click the "Style Book" icon on the top of the right sidebar, you can preview and edit the global syles easily and clearly.
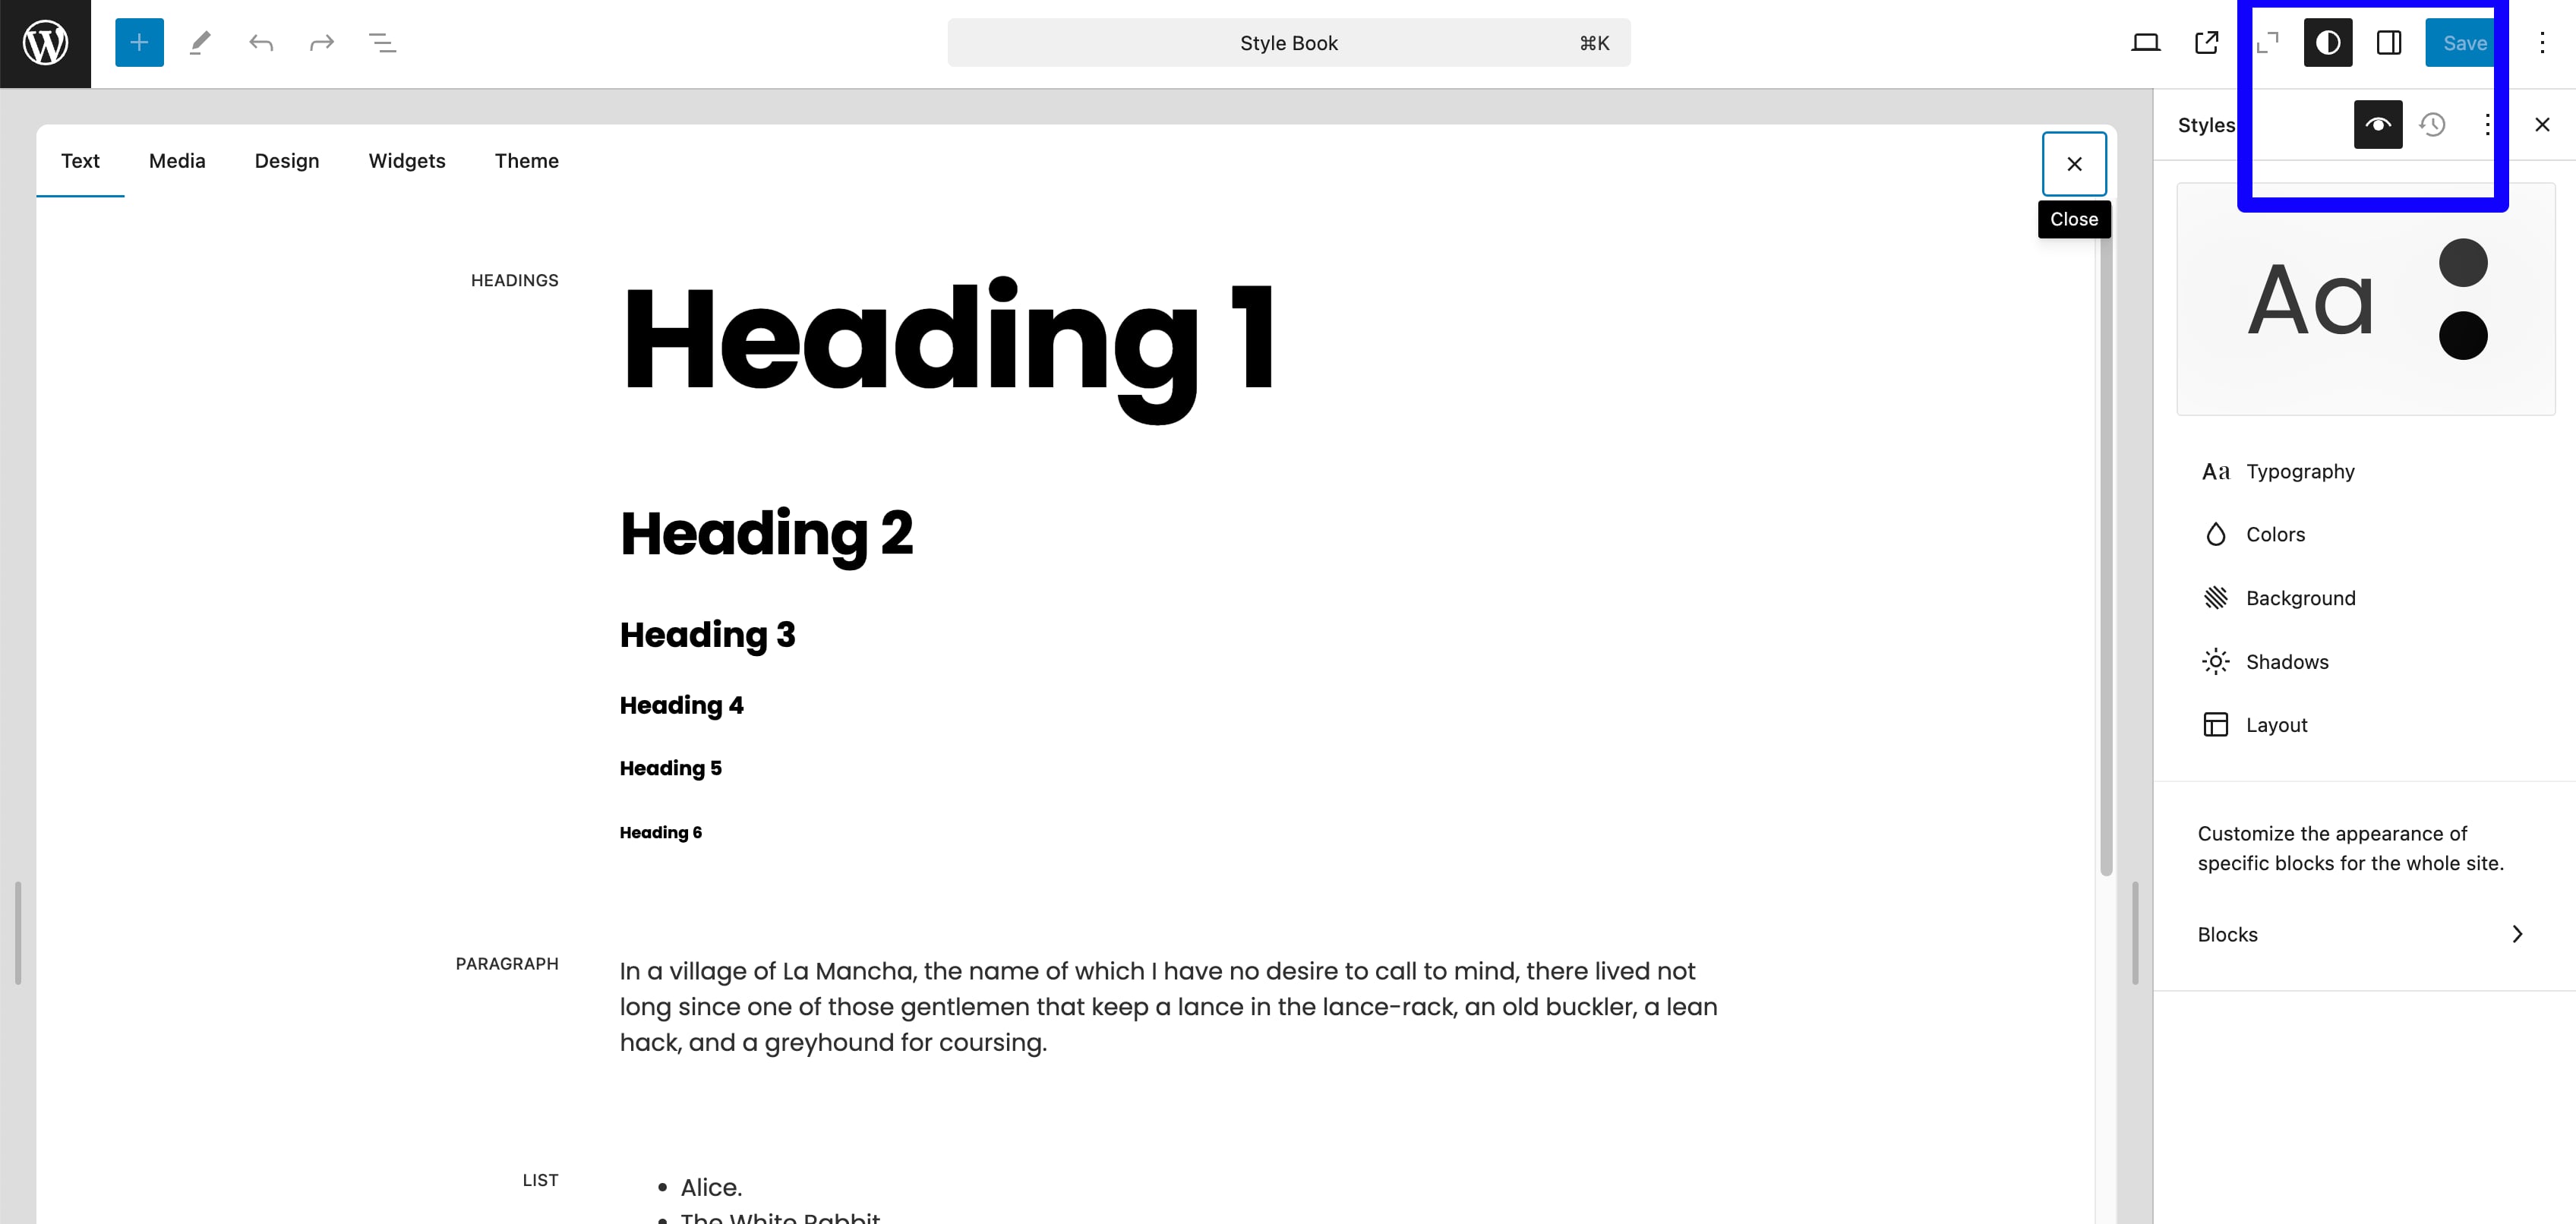
For more details, please refer to Styles Overview
Adding a new block
There are several ways to add a block to your post or page from the admin screen of the WordPress block editor when you are editing your post or page.
Usually we like using the Blcok Inserter to add blocks. There are three ways to add a block using the "+" icon(also called the Blcok Inserter).
- Block inserter icon in the top toolbar
- Block inserter icon to the right of an empty block
- Block inserter icon in between blocks
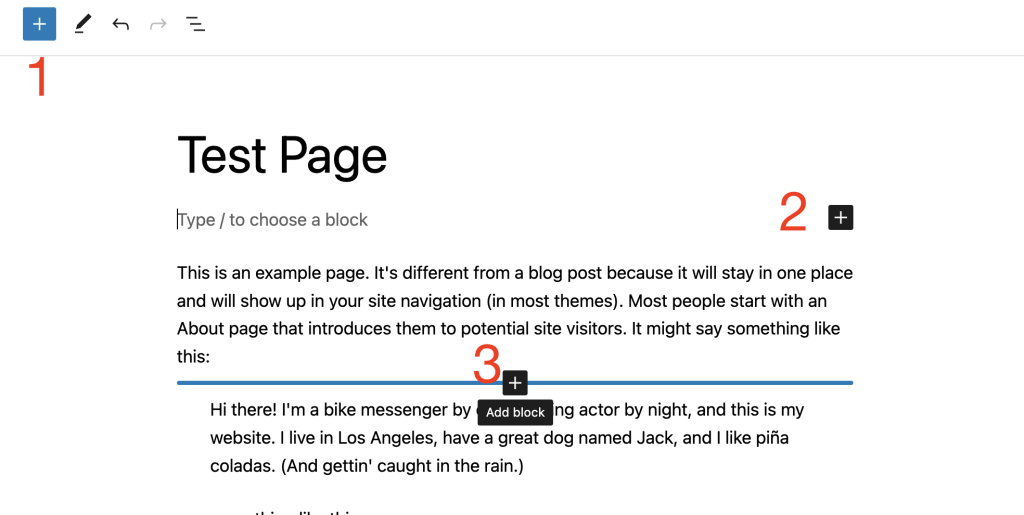
1. Using the Block Inserter icon in the top toolbar.
Click on the Block Inserter + icon in the top toolbar in the WordPress block editor. You can find a list of all the blocks available in the WordPress block editor. Hovering over each block will show you a brief description and preview of the block.
You can scroll down the list to find blocks in categories, like Text, Media, Design, Widgets, Layout, Theme, or Embeds, You also find third-party blocks from installed plugins.
Once you find the block, drag and drop it into the block editor.
You can also add Block Patterns using the top-toolbar inserter.
Block Patterns are a collection of predefined blocks that you can insert into pages and posts and then customize with your own content. Using a Block Pattern is an easy way to create beautiful layouts that combine different blocks to produce professional designs.
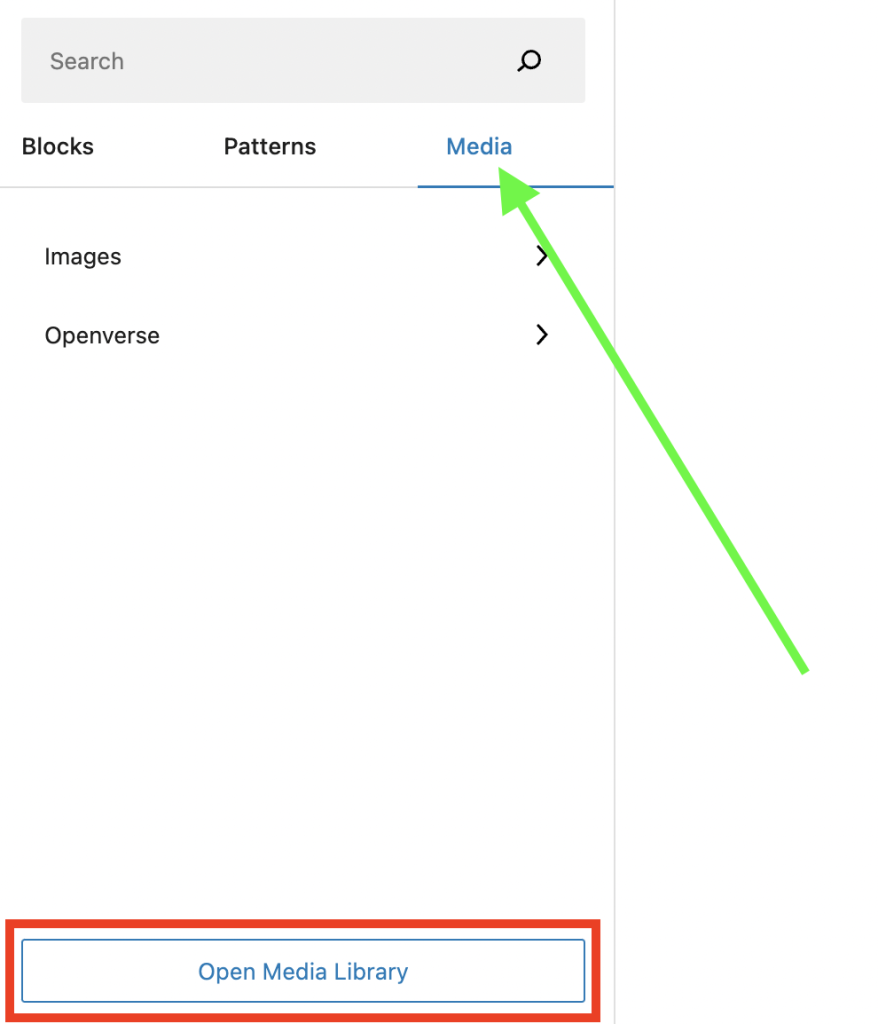
We can add Media using the top-toolbar inserter.
1. Using the Block Inserter icon to the right of an empty block
Click on the Block Inserter + icon to the right of an empty block. If the + icon isn’t displayed first click on the placeholder text.
3.Using the Block inserter icon in between blocks
When you hover over the gap between two blocks, you will notice a horizontal blue line appear with a Block Inserter + icon. You can click on this icon to open a modal window with a list of the most frequently used blocks.
If you want to explore more infomation about how to add blocks in other ways, here is the link for referrence https://wordpress.org/documentation/article/adding-a-new-block/
Block settings
Selecting a block, you can do some settings to it through the right sidebar. Click the setting icon on the right of the top-toolbar. You will see the setting icon and styles icon below, you can change the layout, colors, typography and more to the current block.

For more customization info, refer Customization documentation.
Sources and Credits
I've used the following fonts, images, videos, icons or other files as listed.
The font the theme uses is from google font: Poppins.
Images and videos(none of theme is included in the final files) are from the following sites.
mazwai, pexels videos, coverr, rawpixel, unsplash, pixeden, Freepik
Thanks again for purchasing this Theme!